
These days, just having a local hard drive on a PC is sometimes no longer enough. Now, we also like to give other people access to our files, say give our family members access to our music library, so that we don’t have to pass on an external hard drive, or a flash drive, which can get lost, or is just too tedious to do when you’re on the third floor and they’re on the first.
Fortunately, someone invented NAS or Network-Attached Storage devices, which allow us to do exactly that. These things can be treated as small computers on their own, except that you can’t play games on them. They serve one purpose, provide access to the data inside them, to anyone in the network, who is allowed to do so.
The Synology DS218j is a perfect example of a basic NAS server for personal use, and can be easily accessed directly from your computer, or devices that are connected to the network (of course it has to be connected to your router).
Specifications
[table id=134 /]
Design
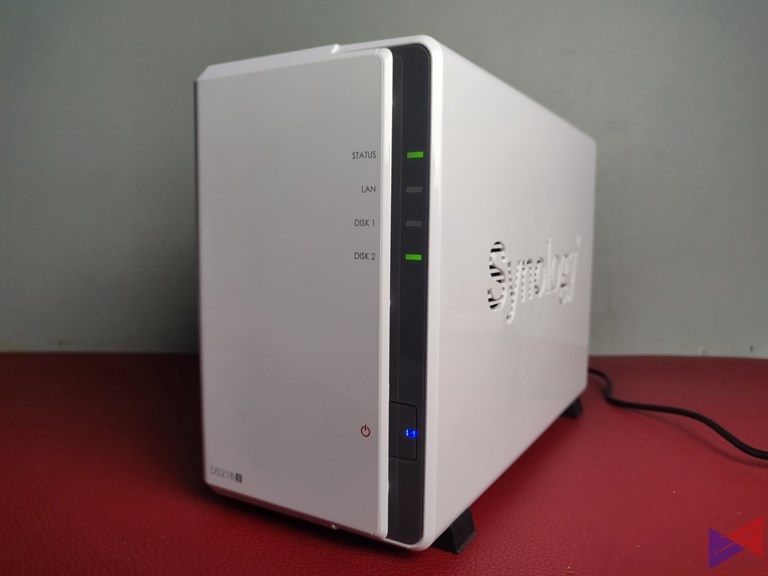 The DS218j sports a clean and simple design. It’s in fact so compact that you can treat it as a large portable hard drive. Up front, you have all the indicators you’ll need, so that you know when it’s connected via LAN, how many disks are active, etc. There’s a dedicated power button for turning the device On/Off, though I think you’ll rare use it.
 On the side is a Synology branding, which also acts as sort of an exhaust mechanism.
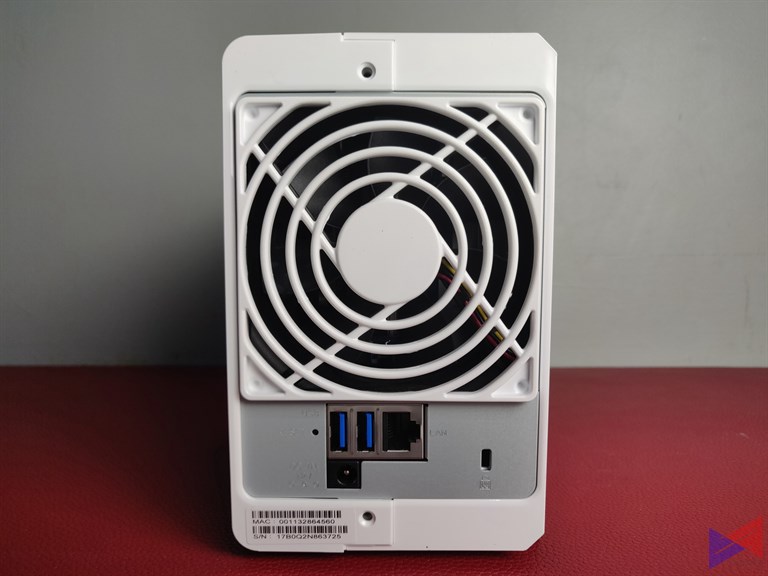 At the back is a single cooling fan, 2 USB 3.0 ports, a network port, the power port, and a reset button.
The DS218j can handle two 2.5″ or 3.5″ SATA Hard Disk Drives or Solid State Disks, which can be configured in RAID 0 and Raid 1 for backup (the review unit we have has 1 512GB hard disk drive). As mentioned earlier, this device is sort of a mini computer, as it also has its own processor, 512 MB of RAM and its own operating system which we’ll talk about later.
Unfortunately, the drives aren’t hot swappable, which means you can’t pull them out and put them back in without opening the NAS (physically), though it’s actually not that hard to figure out, when you have a screwdriver lying around. The good thing is that you don’t have to worry about setting this thing up, as Synology will do it for you as part of their services. Pretty cool right?
Performance
For this test, we’ll be doing a number of transfers with a large volume of files, to see just how fast we can copy them to the NAS, and how fast we can get them back from it. We’ll test it via Wi-Fi.
Download and Upload Duration
Download and Upload Speed
Software
Initial setup of the NAS is quite easy. All you have to do is install Synology Assistant, run it, and search for available NAS Servers. Once detected, connect to the DS218j and enter your username and password.
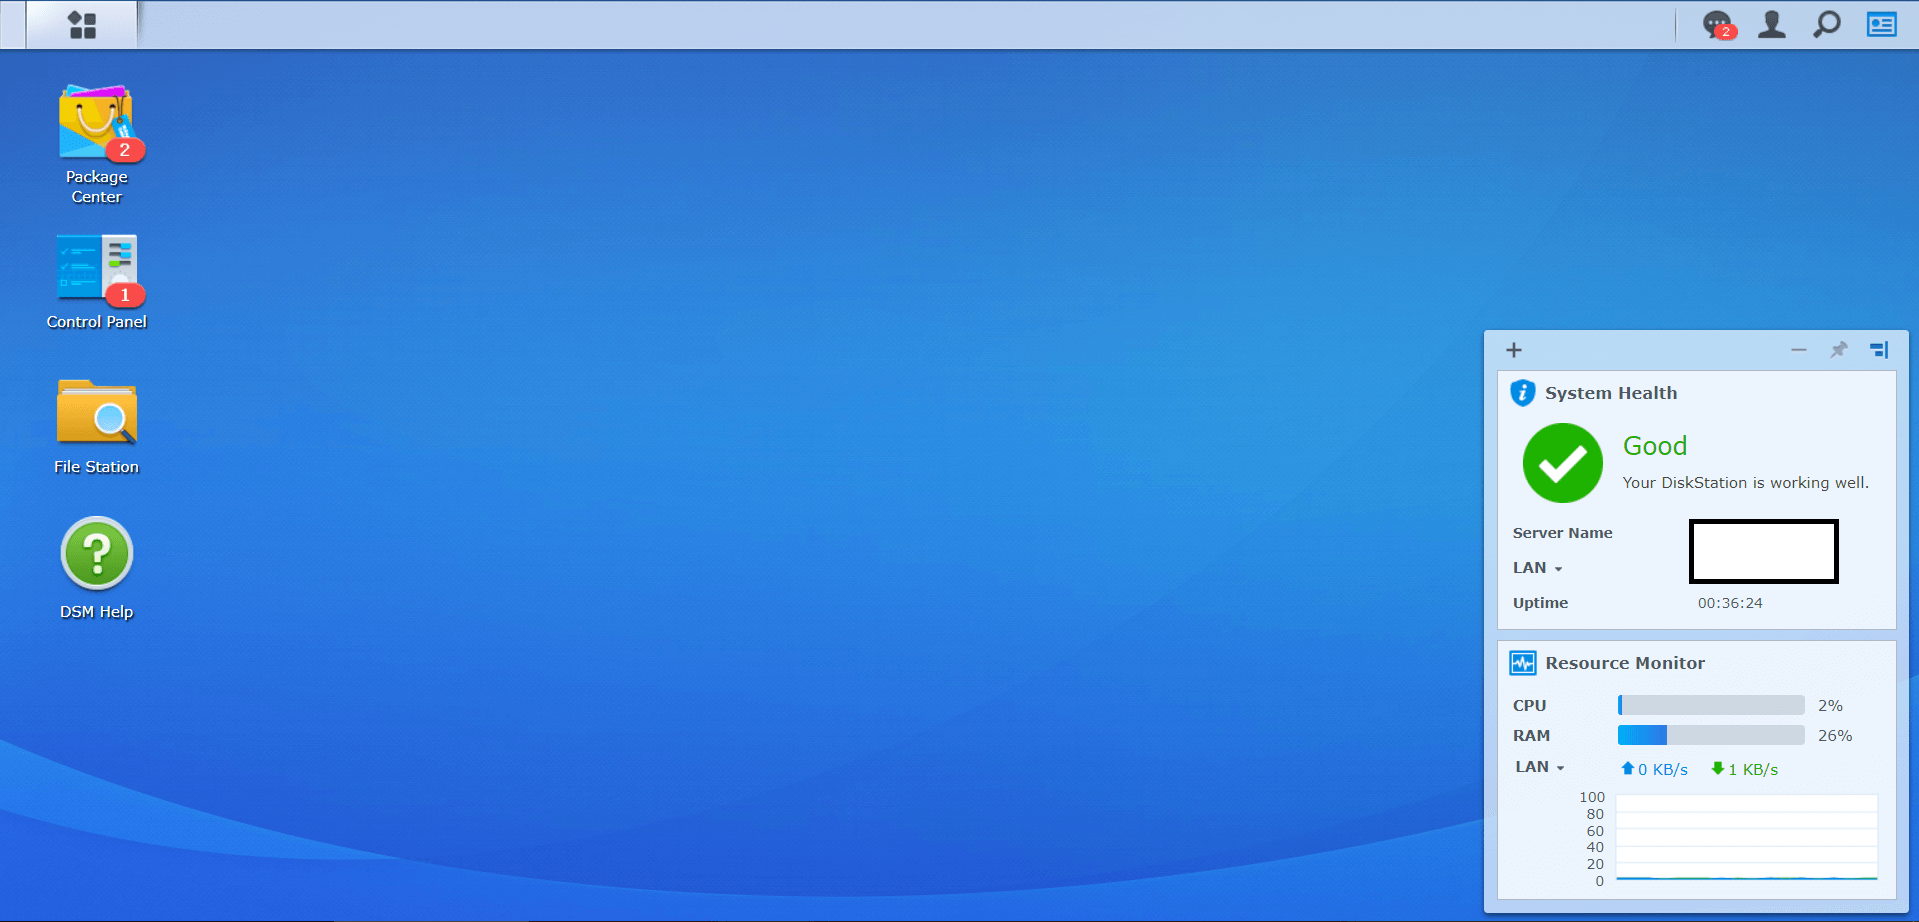 Once logged-in you’ll be taken to the Disk Station Manager, which is basically Windows Explorer-type of interface, and is quite straightforward in many aspects. It should be easy to use even for first-timers.
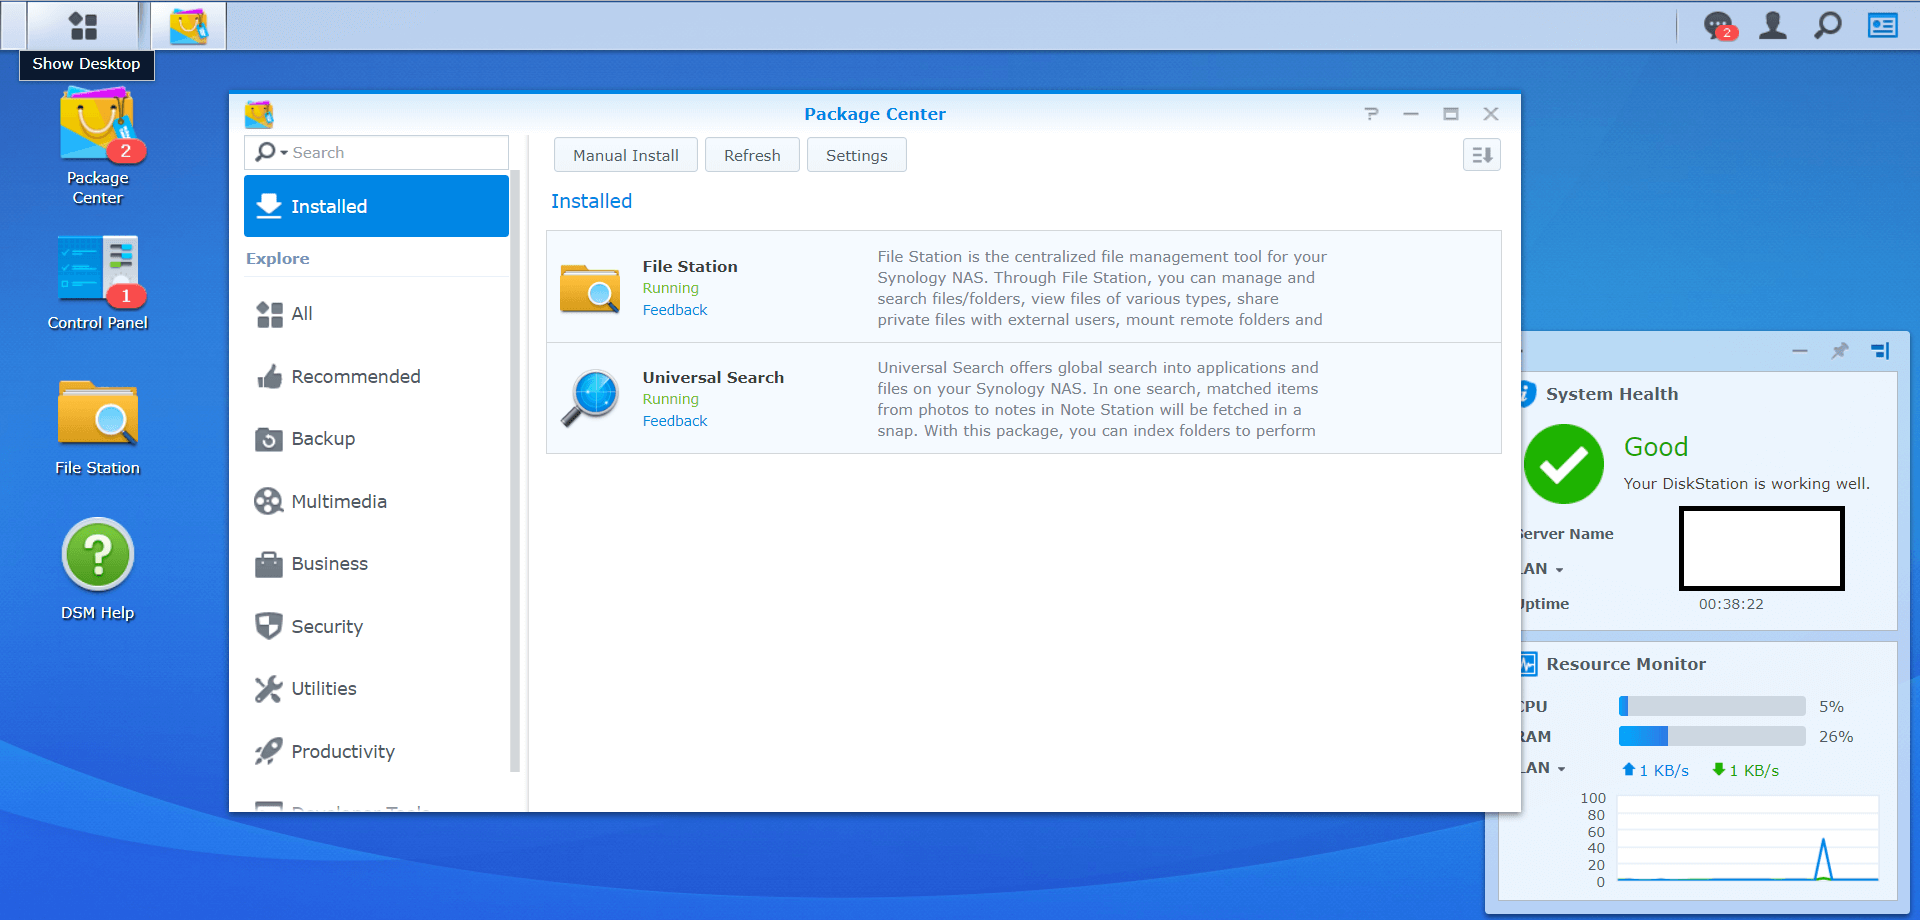 You can download additional packages through DSM, which further expands the capabilities of the device.
 Managing users is done via the control panel, and you can also easily set permissions for each user just by ticking a checkbox for read/write. You can even set passwords to expire, if you need to give time-restricted access, say for a visitor, and many more.
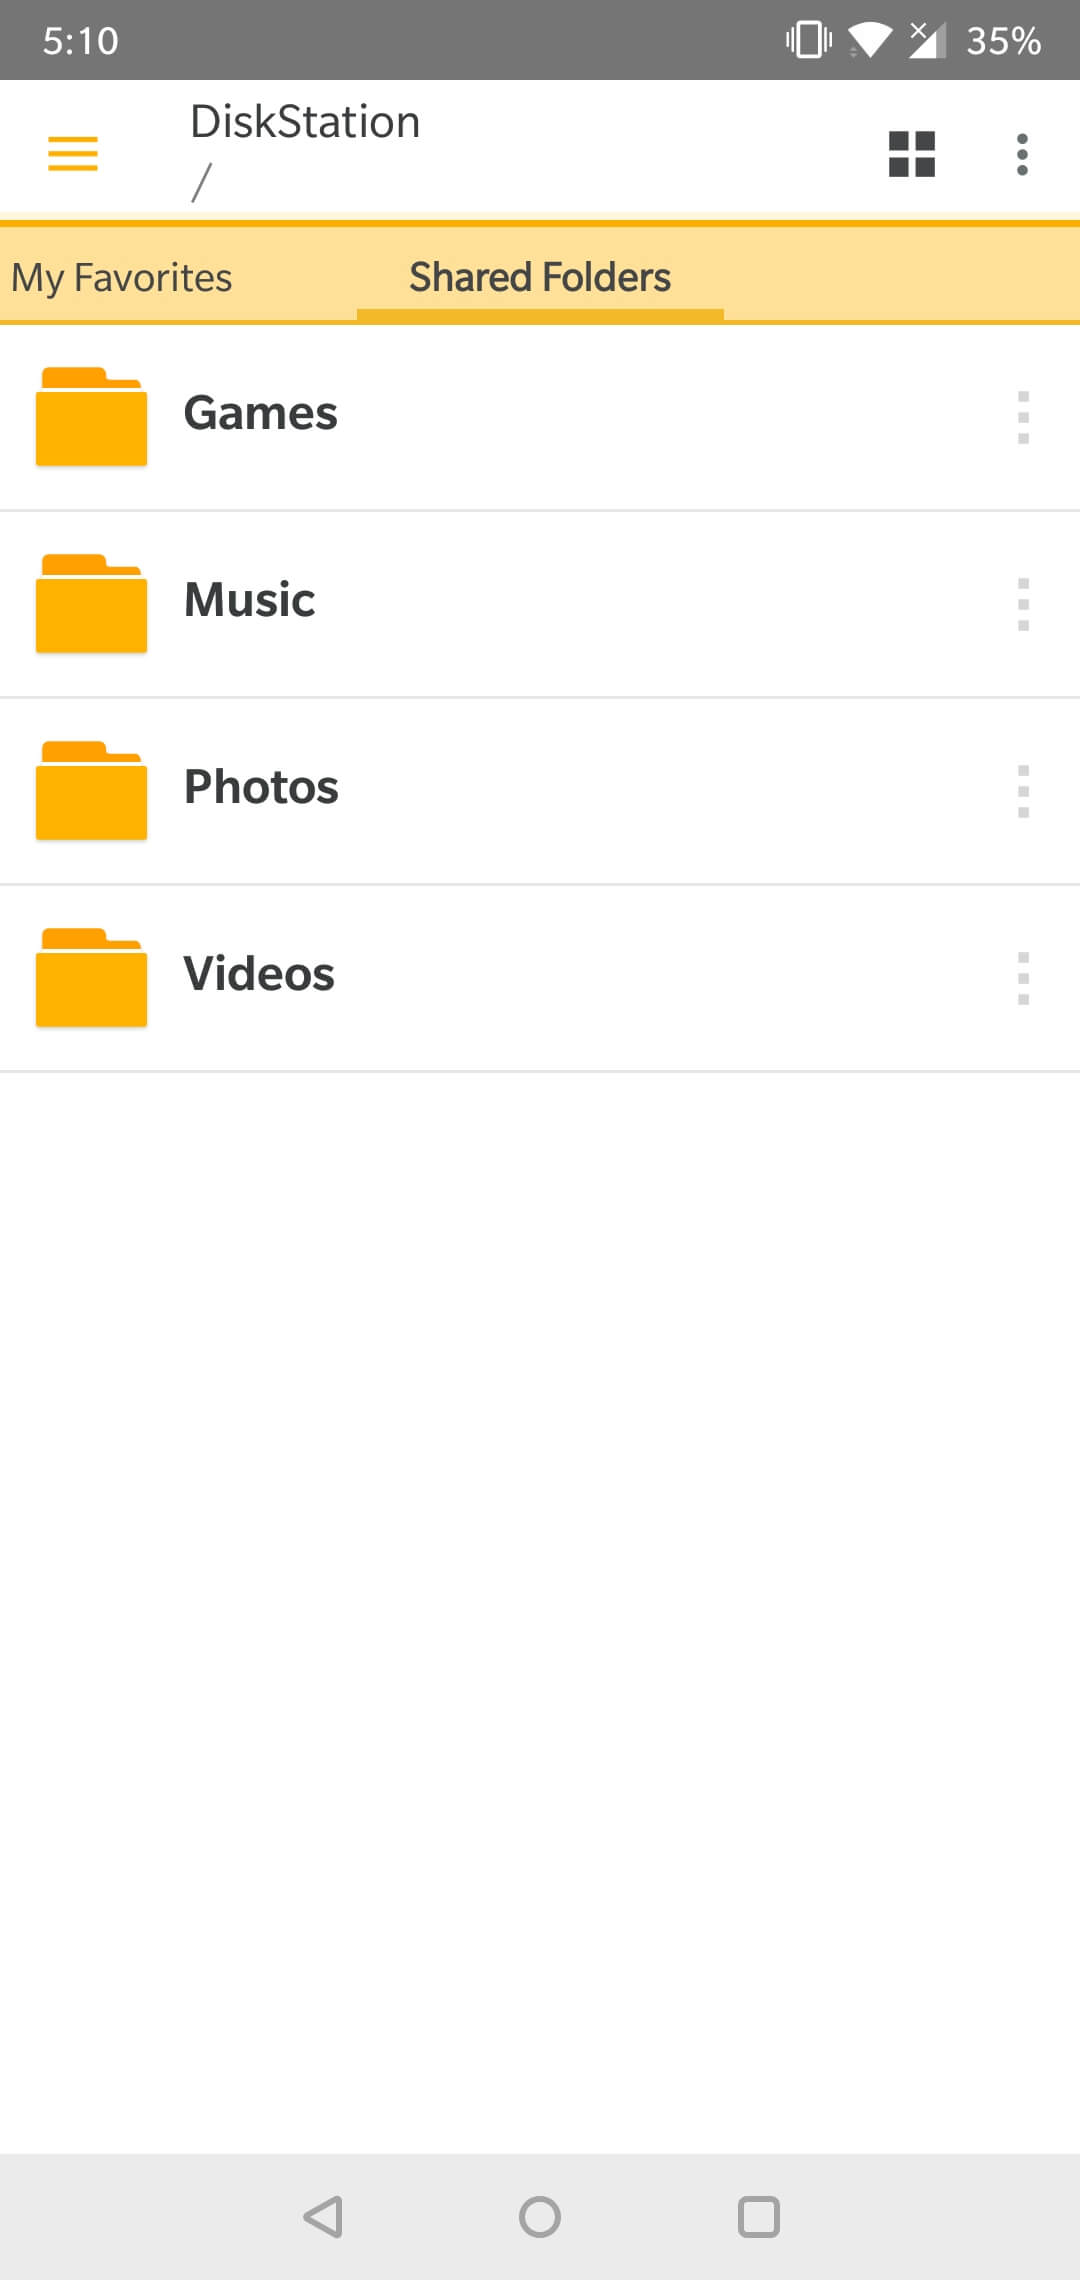
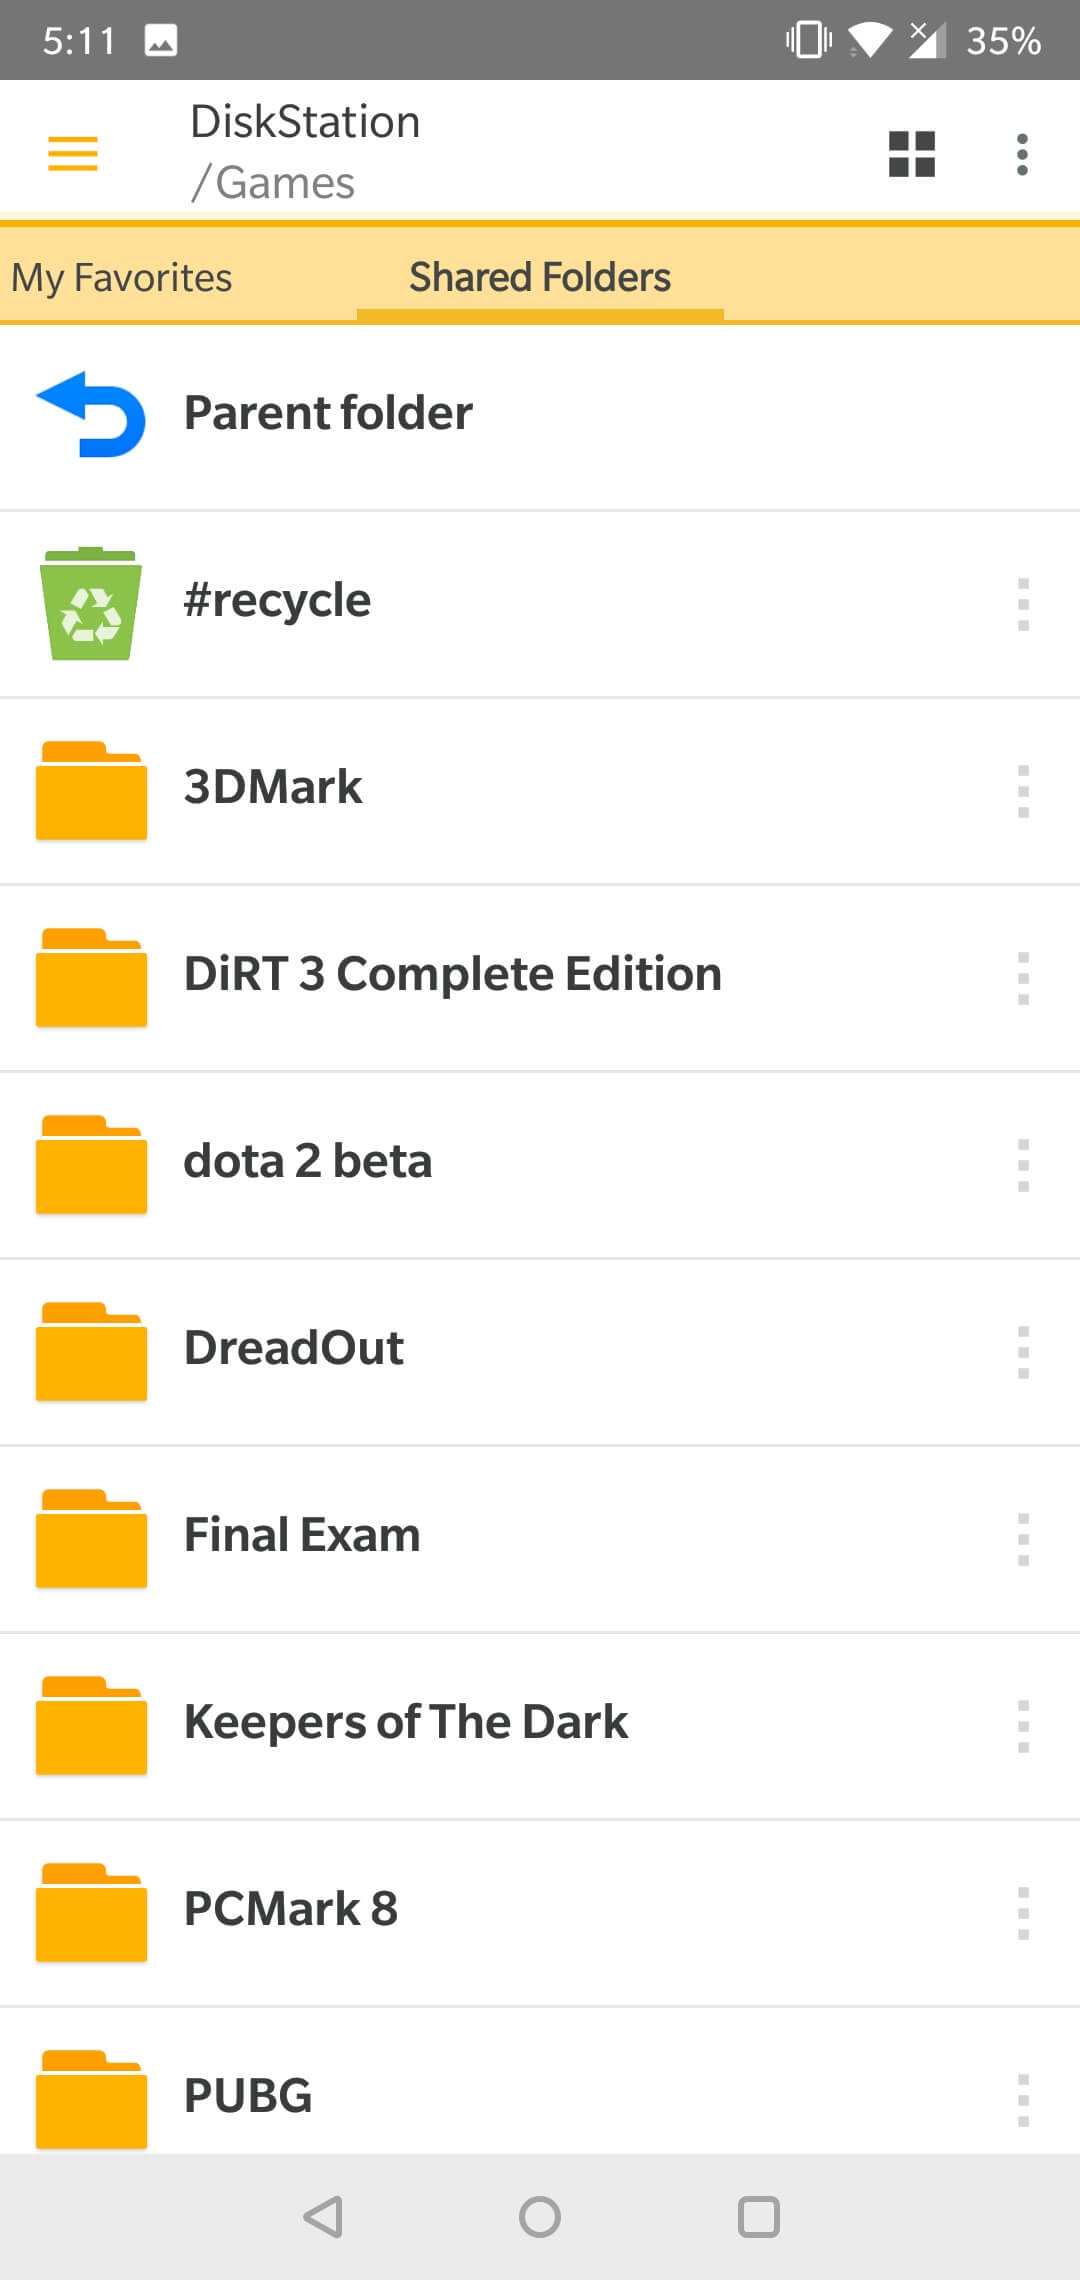
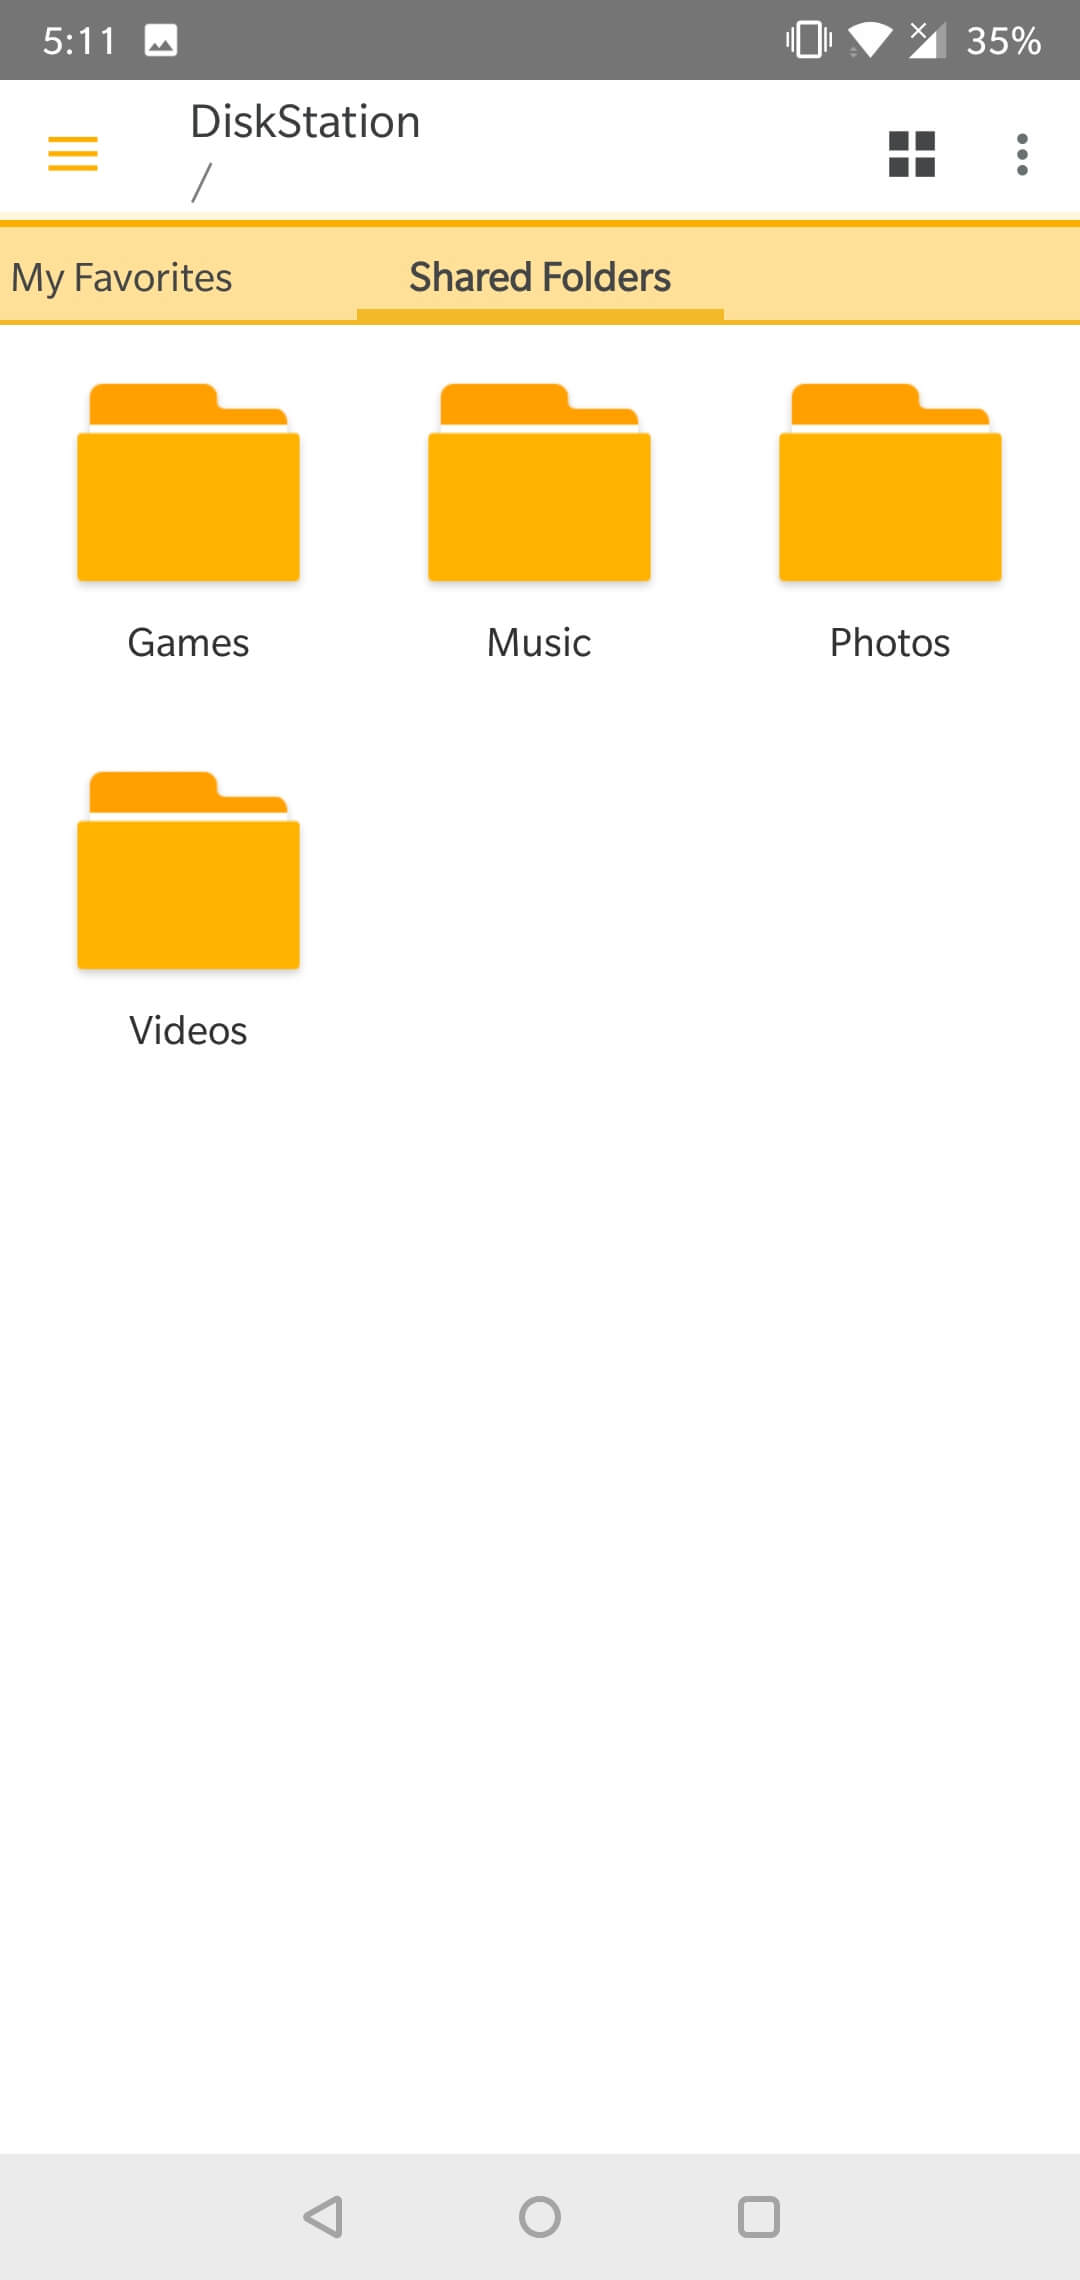
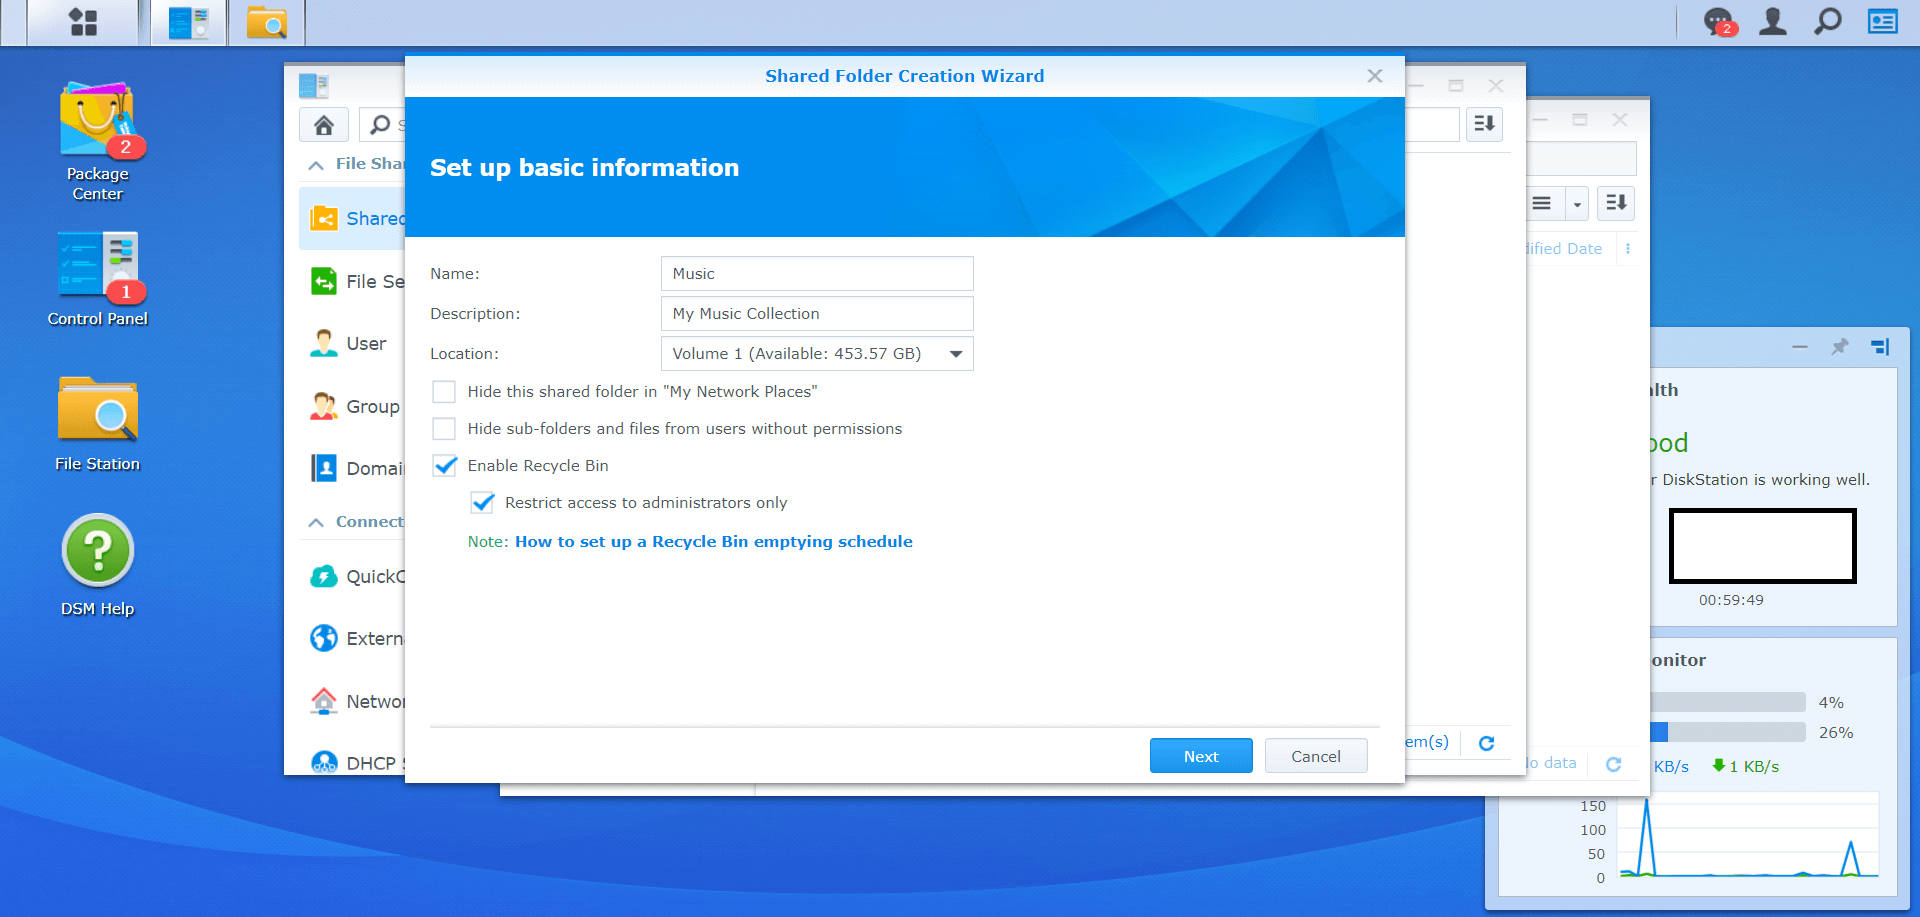 Files are organized into folders, and creating one is very simple. Just go to Shared Folder in the Control Panel, and click Create. You’ll be asked to provide information for your folder (Name, Description, etc).
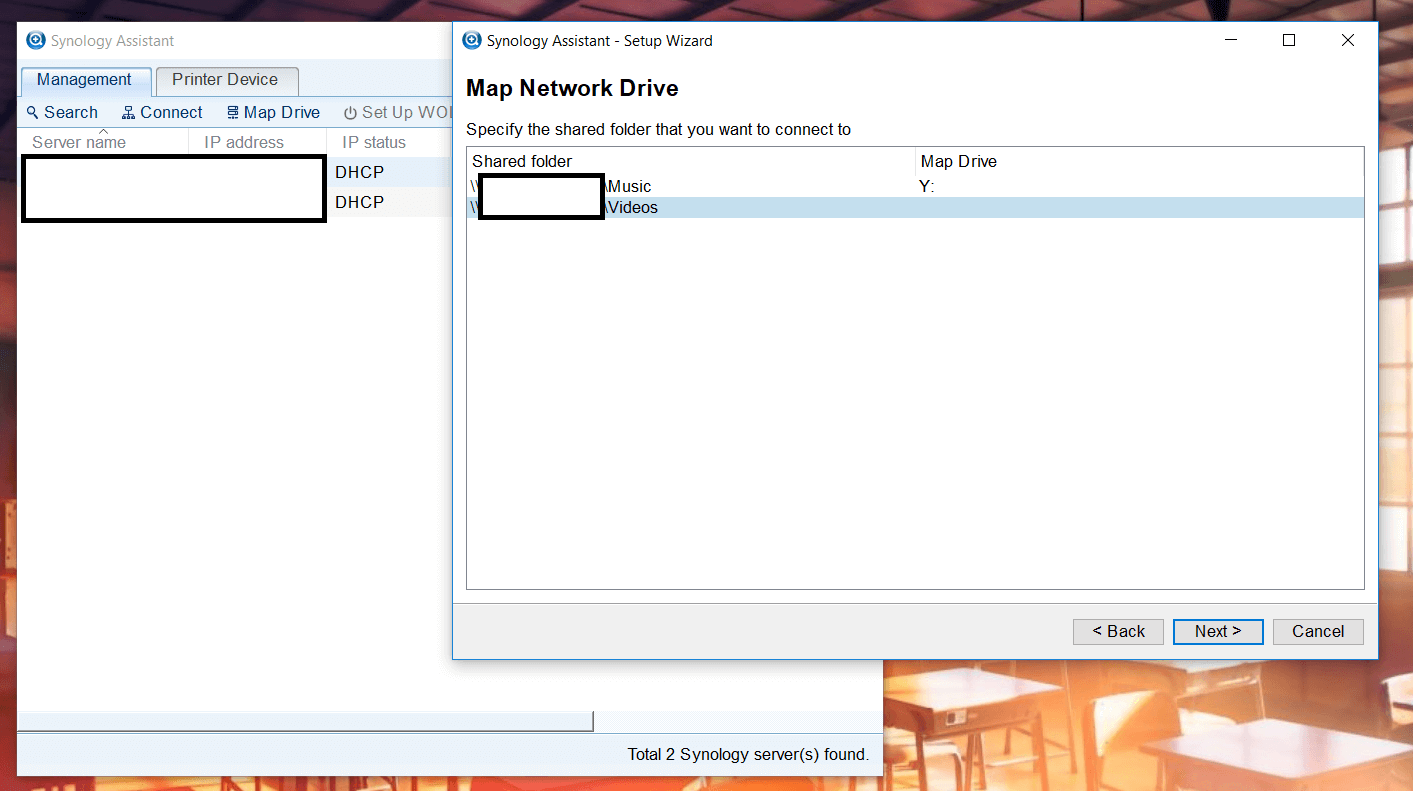 Once you’re done, you can easily map the folder using Synology Assistant. Just login and point the app to the folder you wish to map.
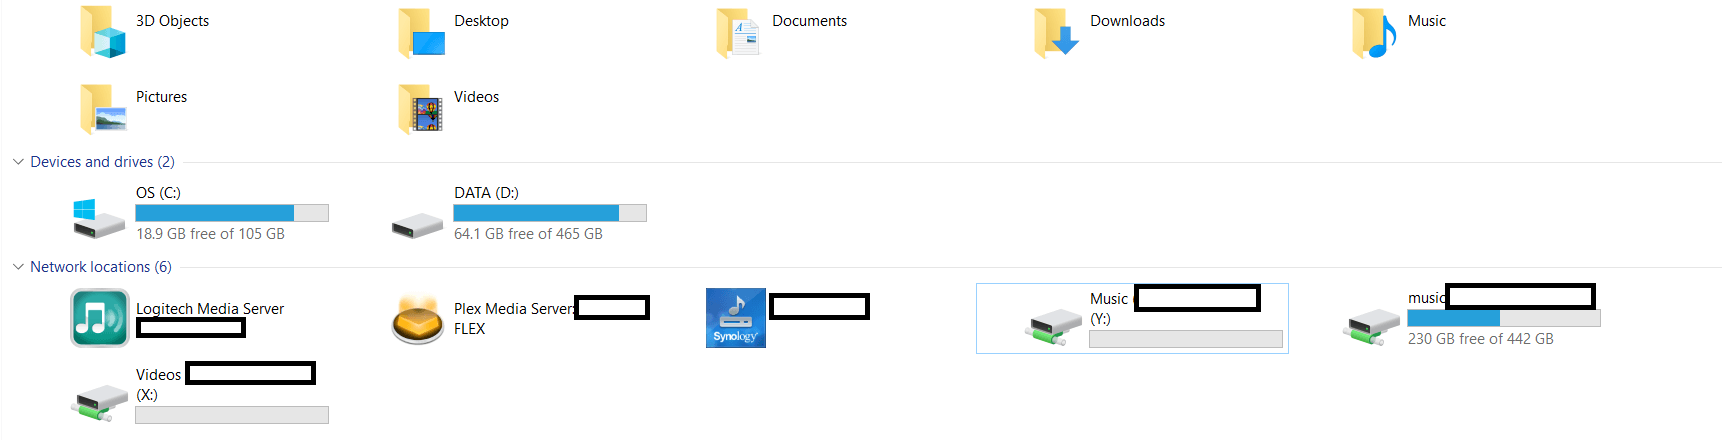 When done, it should then appear in Windows Explorer as a network drive. You can then drag and drop items, as if it was a normal folder on your hard drive. Easy, right?
 You can also download files directly from DSM. Simply right click on a file, and choose Download.
Access via Mobile Device
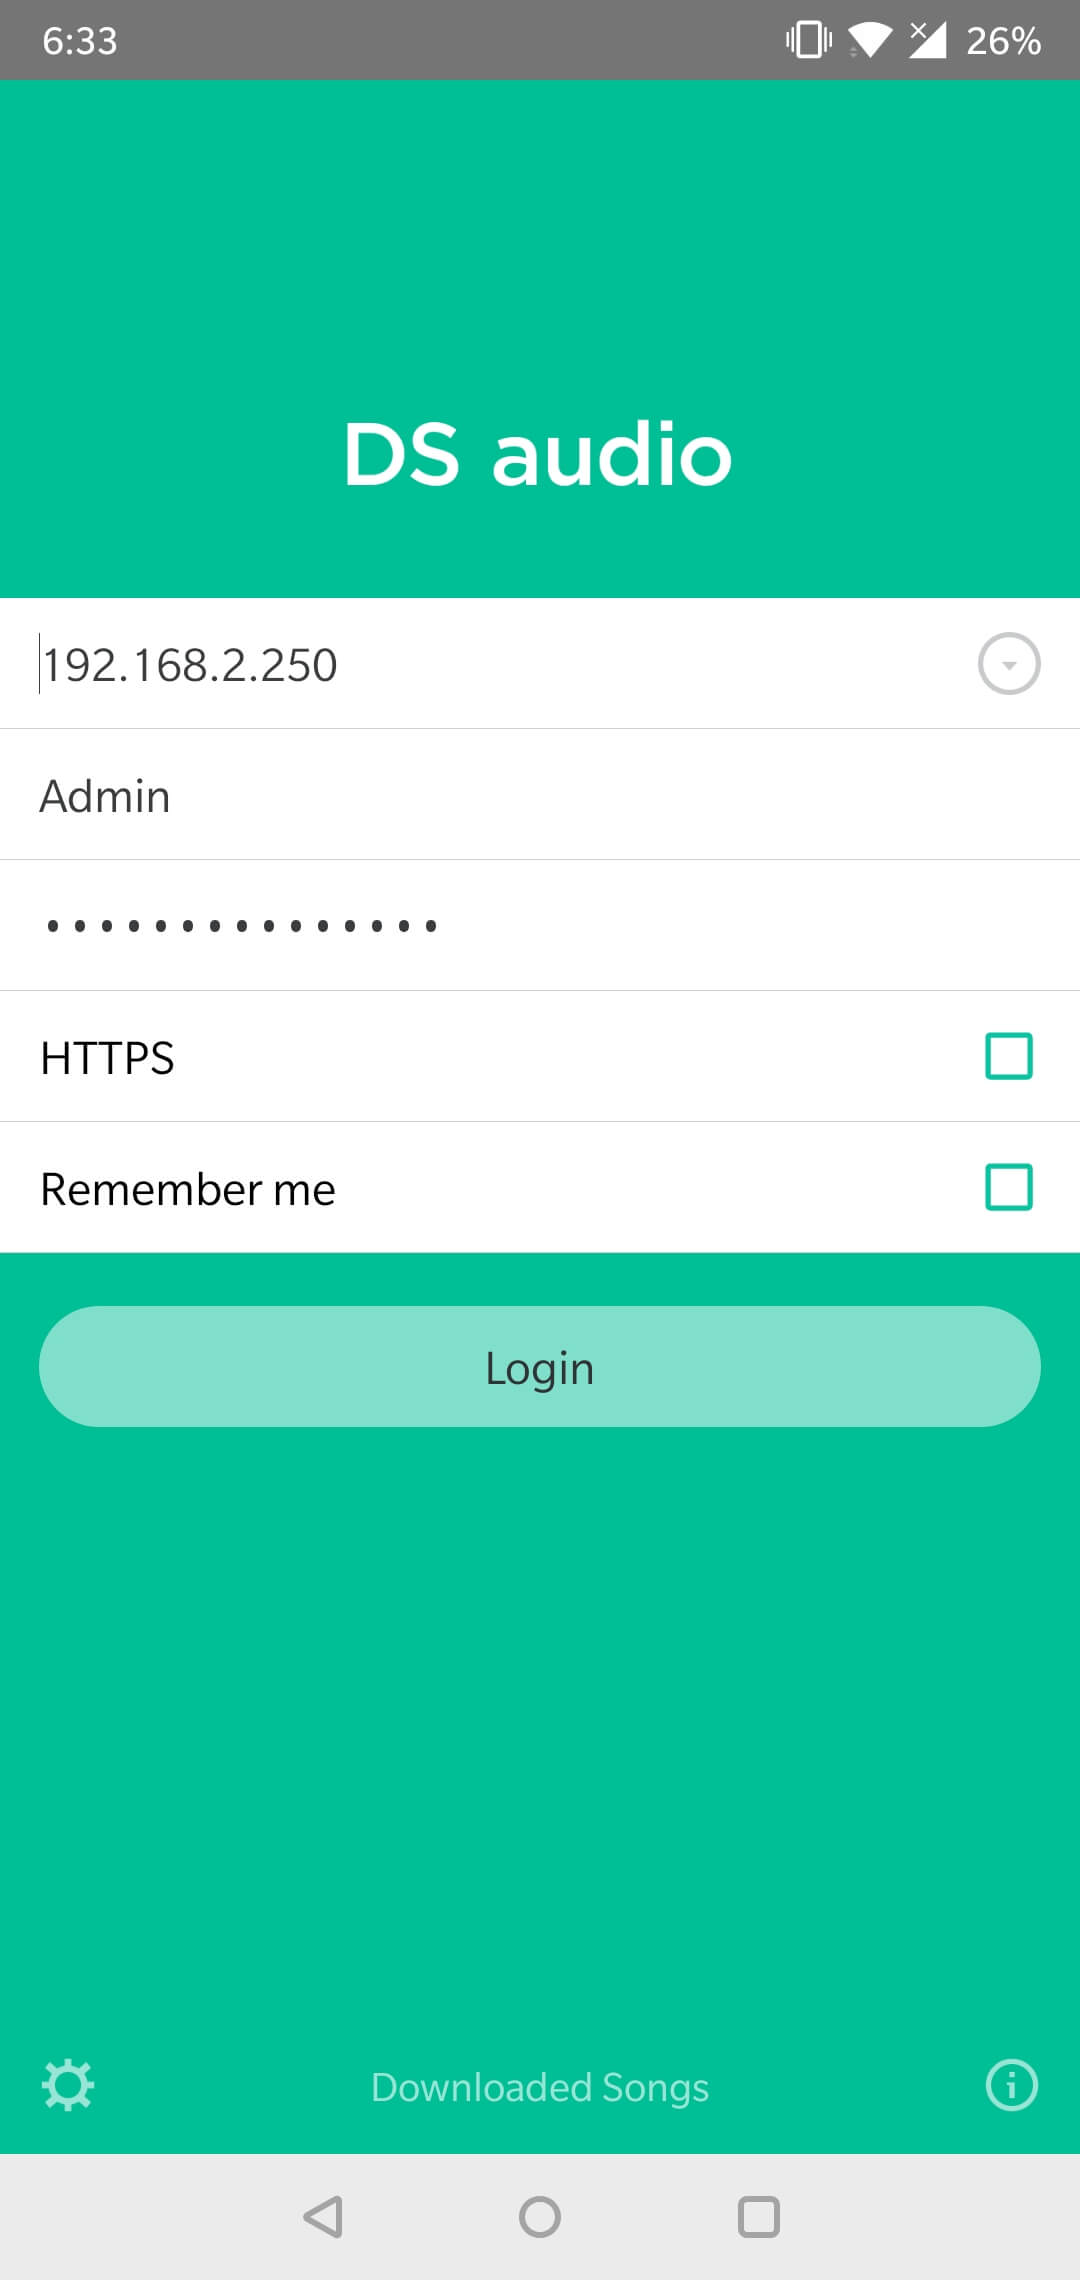
If you want to access the files in your NAS using a mobile device, all you have to do is install the DS file app by downloading it from Google Play, search for the NAS in your network from the menu, enter your credentials, and there you go!
- syn android 2
- syn android 3
- syn android 4
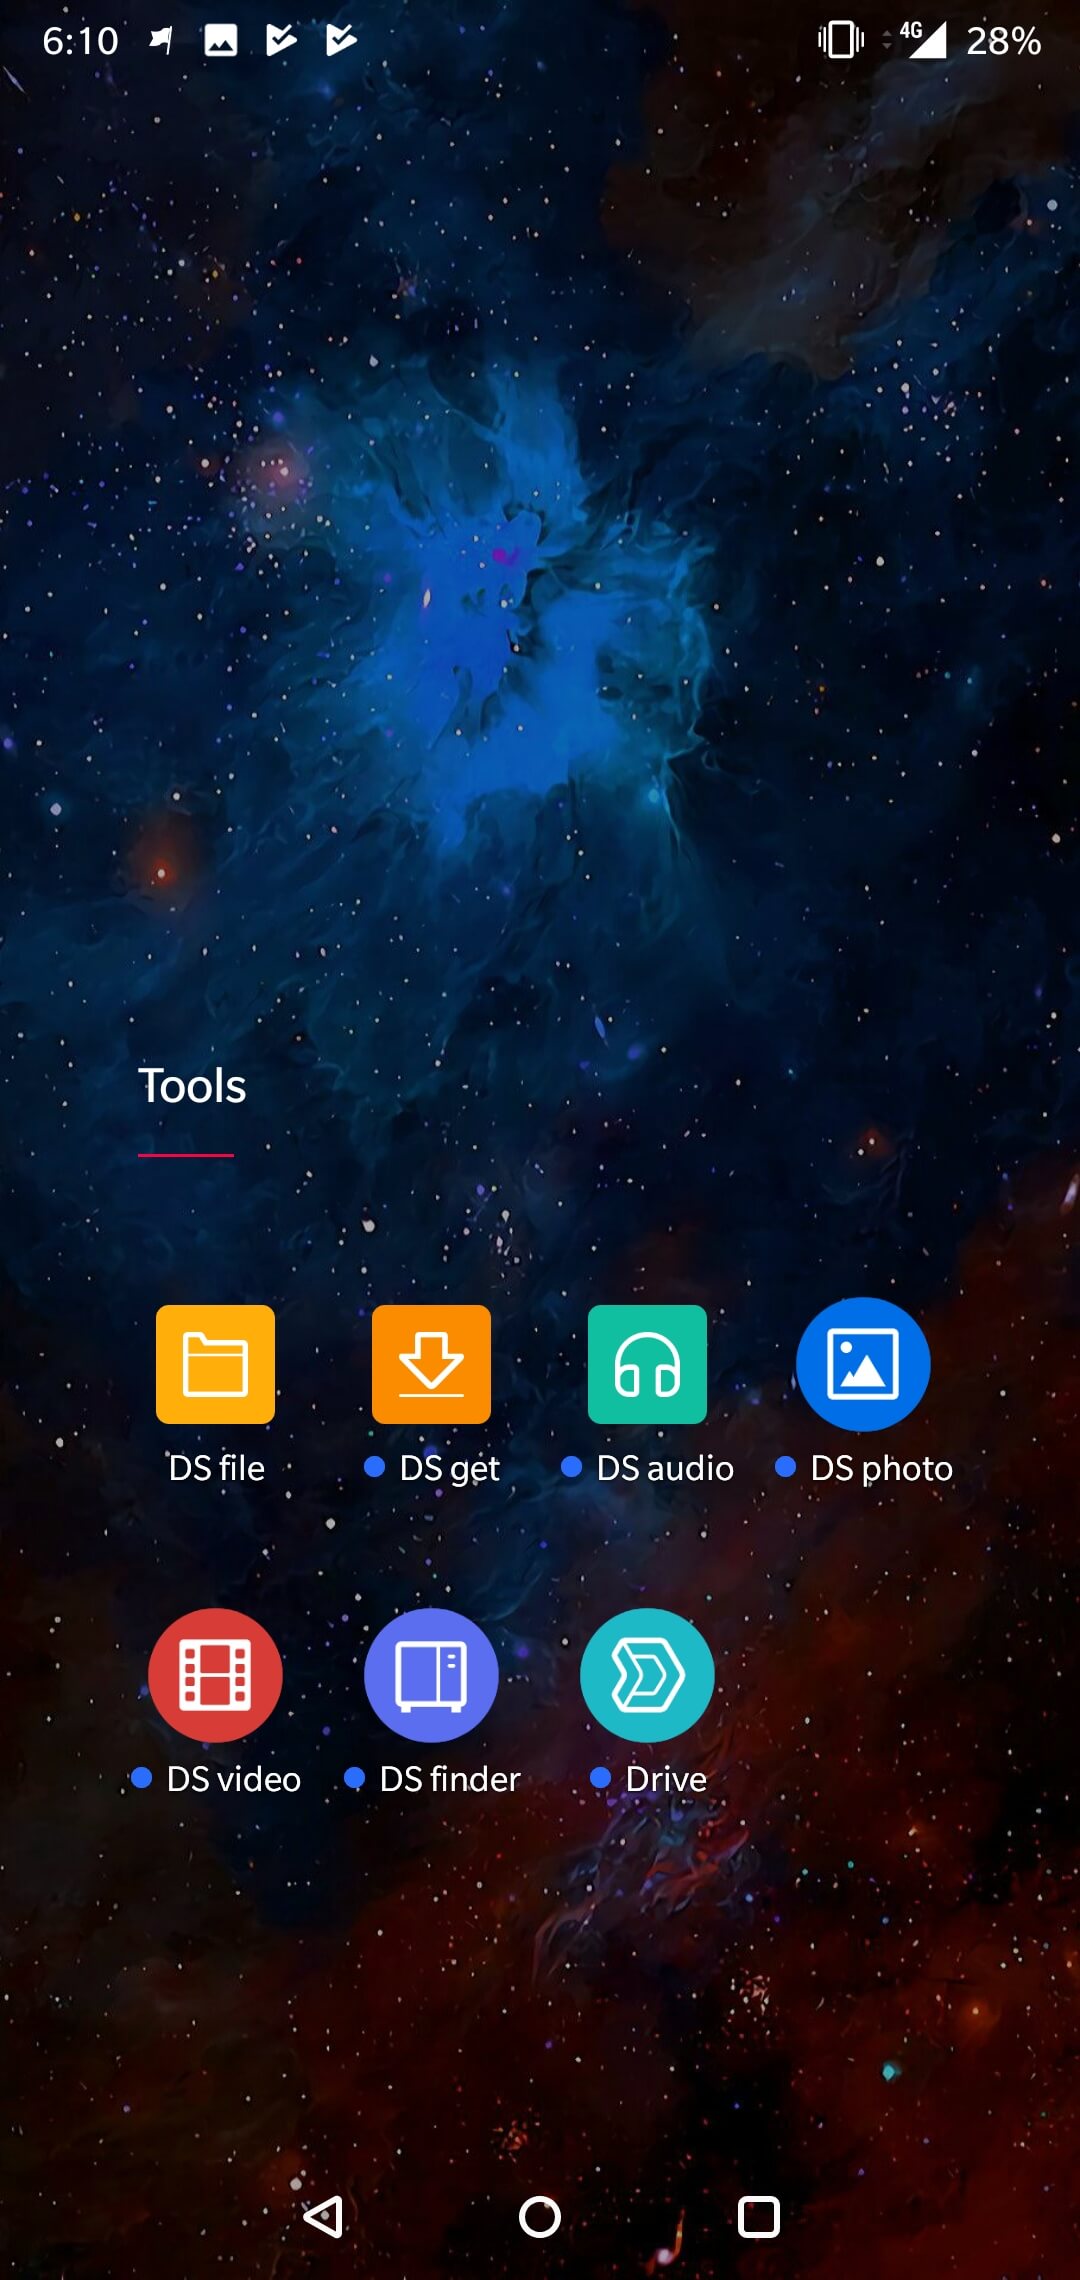
The app gives you access to all the files in your NAS. You can even download them to your device. There’s also the DS Audio, DS Video, and DS Photo apps for streaming content from your NAS to your mobile device.
- syn android 8
- syn android 1
- syn android 7
The thing is, you’ll have to login to each app separately. It would’ve been nice if they just had one app for everything. Some also require packages to be installed using DSM or the dedicated app, which in itself requires you to install a package using DSM.
 Some apps won’t even allow you to say, natively create a collection of content such as an album or a movie library, but instead forces you to create them in DSM. In essence, some processes could be a bit tedious and confusing for some users.

Emman has been writing technical and feature articles since 2010. Prior to this, he became one of the instructors at Asia Pacific College in 2008, and eventually landed a job as Business Analyst and Technical Writer at Integrated Open Source Solutions for almost 3 years.


