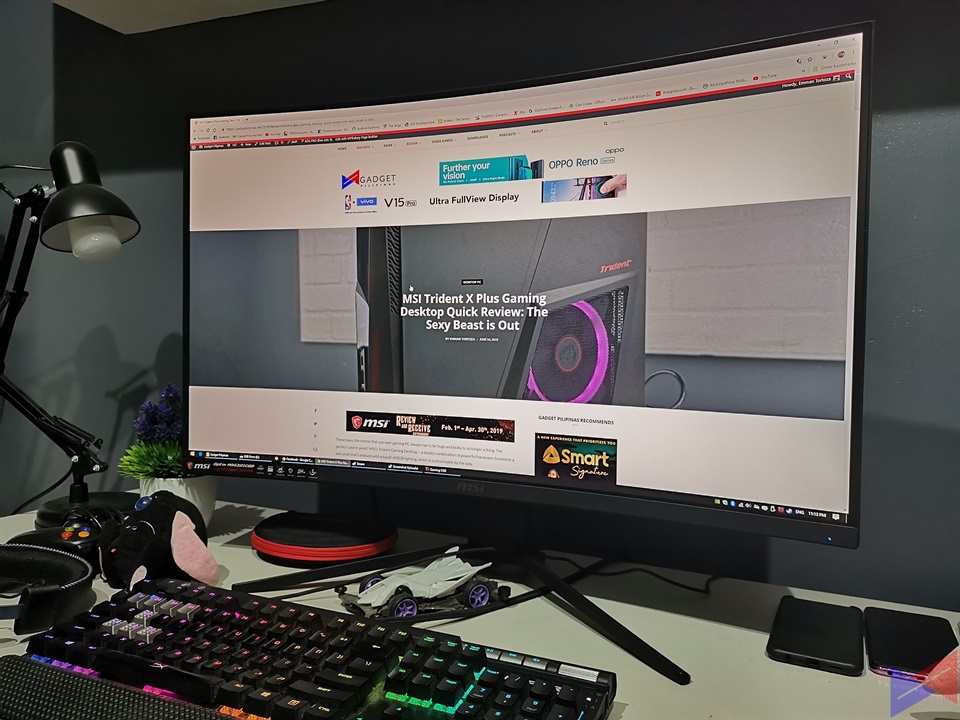
Getting the most out of your powerful PC means you’ll need to have a corresponding display that can harness its capabilities. The MSI Optix MAG321CQR is built exactly for that purpose, to let you experience your games the way the developers have intended them to be experienced – smooth, fluid, eye-candy, mind-blowing.
Specifications
[table id=330 /]
Design
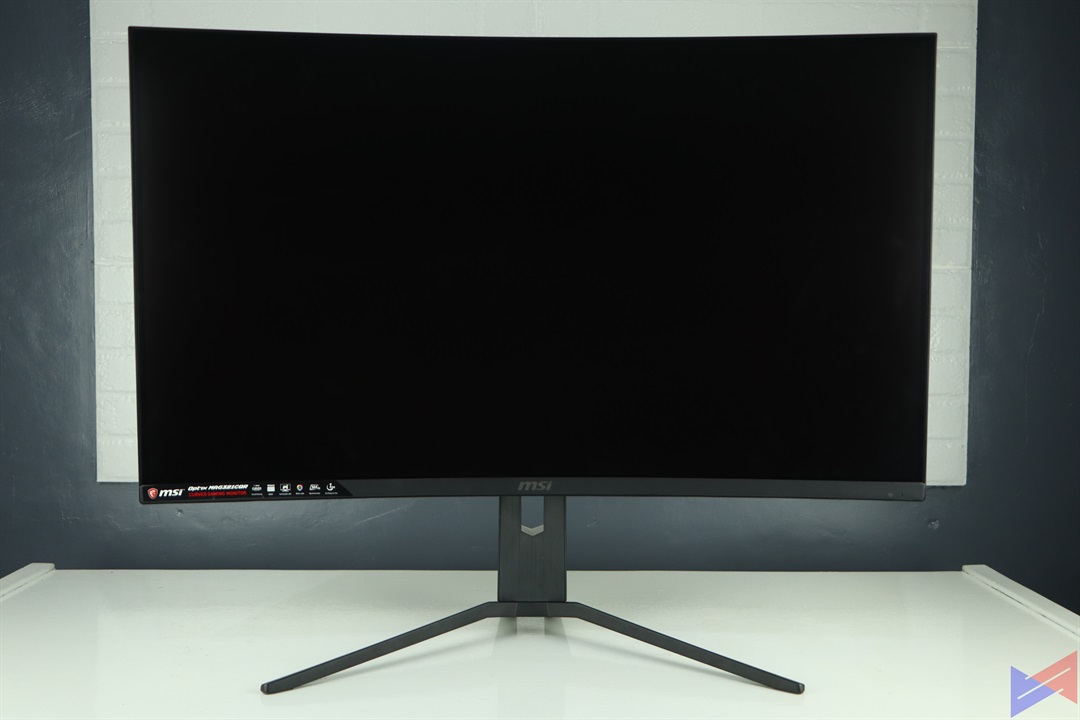 Up front, you get a 32-inch 1800R curved VA panel with a maximum resolution of 2560 x 1440 pixels or WQHD, which makes not only your games, but also your movies, photos, and even websites look more engaging. Unlike other monitors we’ve looked at, this one only has the Power button on lower right section.
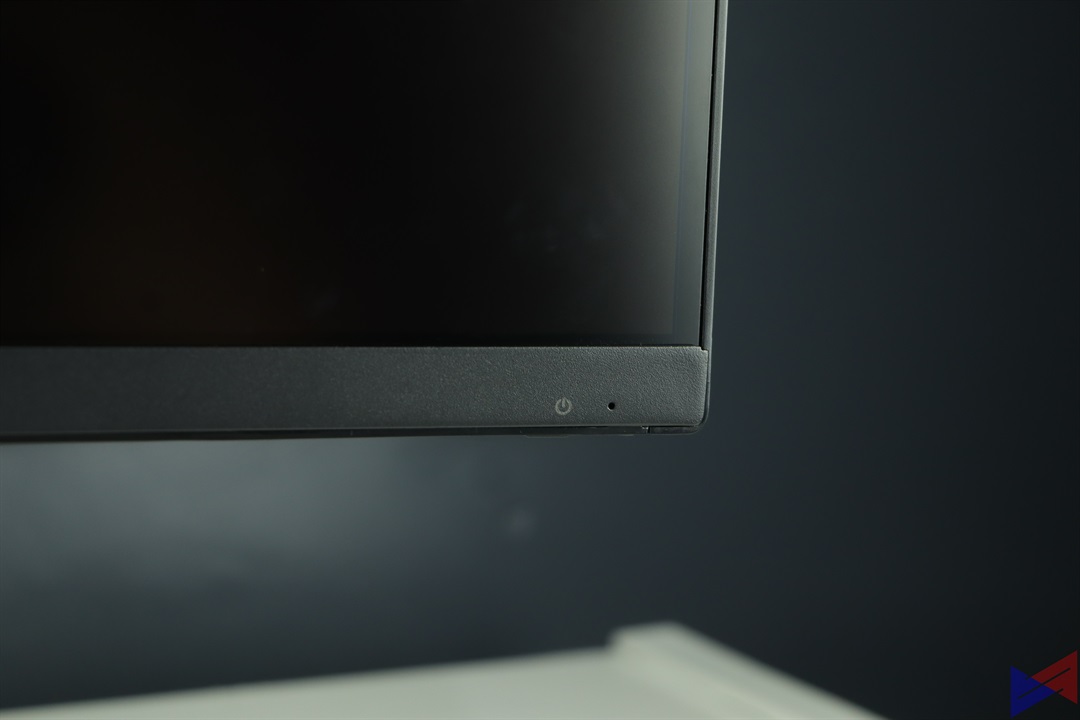 The monitor uses minimal bezels on three sides, except for the chin, which bears the MSI logo.
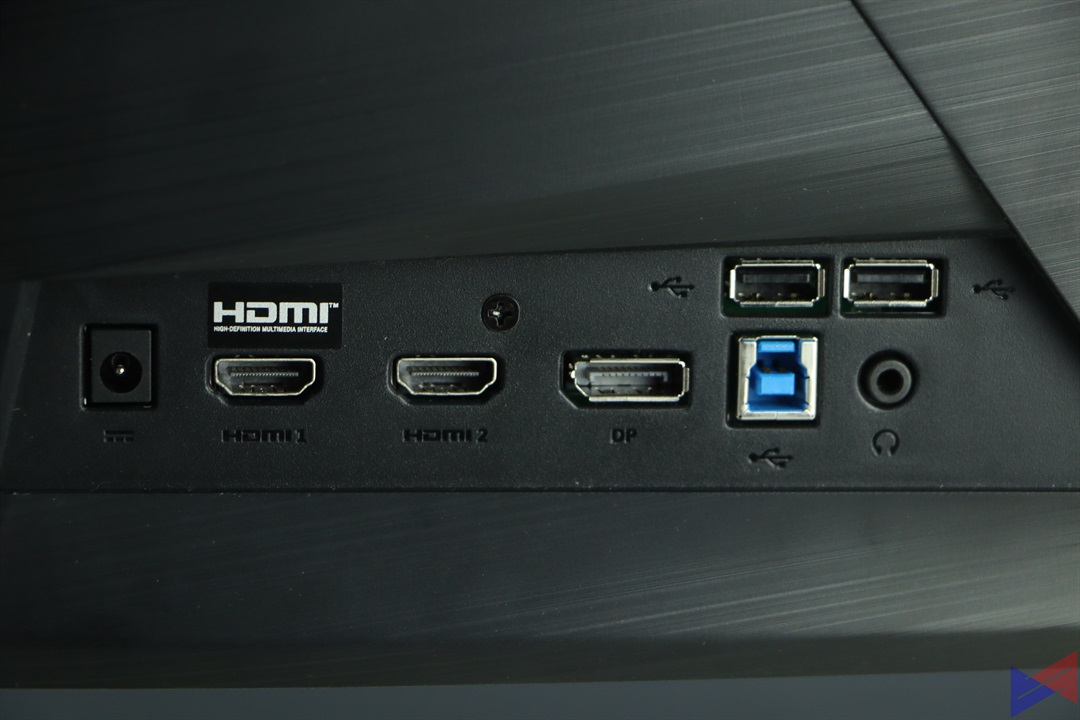 At the back, you get a set of ports that should cover every connection you might have – 2 HDMI 2.0 ports, 1 DisplayPort 1.2, 2 USB 2.0 ports, and a Type B port for an additional connection from the monitor to the PC. This also enables the use of the Gaming OSD, which we’ll get to in a bit.
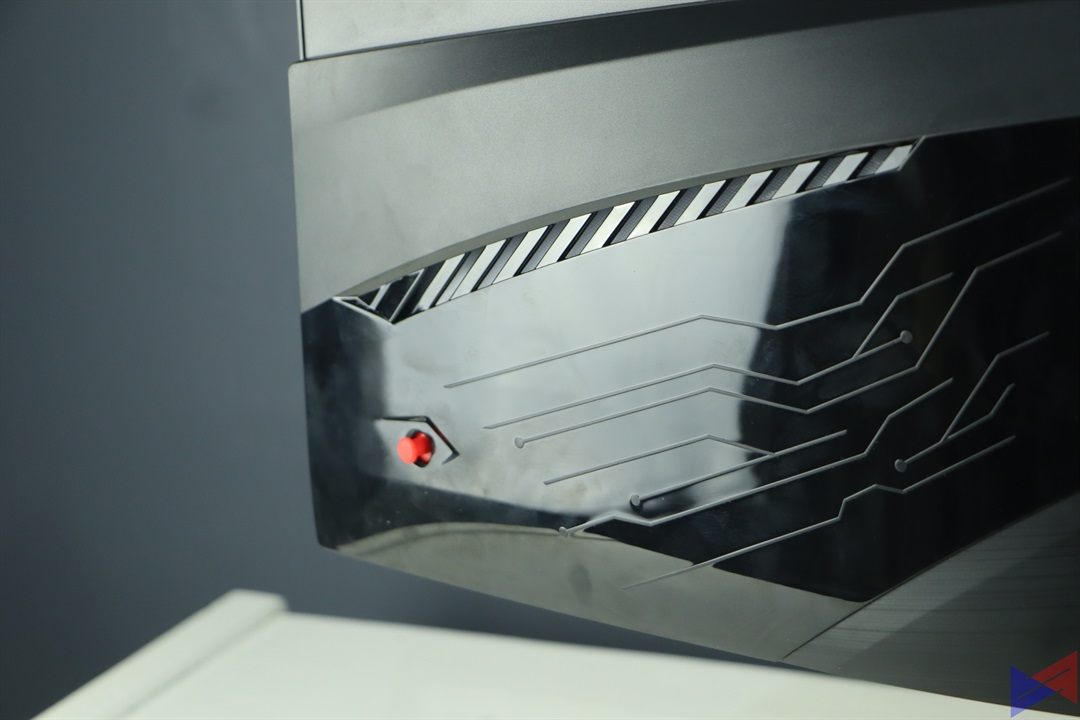 You’ll also find a small joystick at the back called the Navi key, which is used to navigate through the on-screen display wherein you can adjust the monitor’s settings such as brightness, contrast, and a lot more. The button feels sturdy and is very responsive to any input.
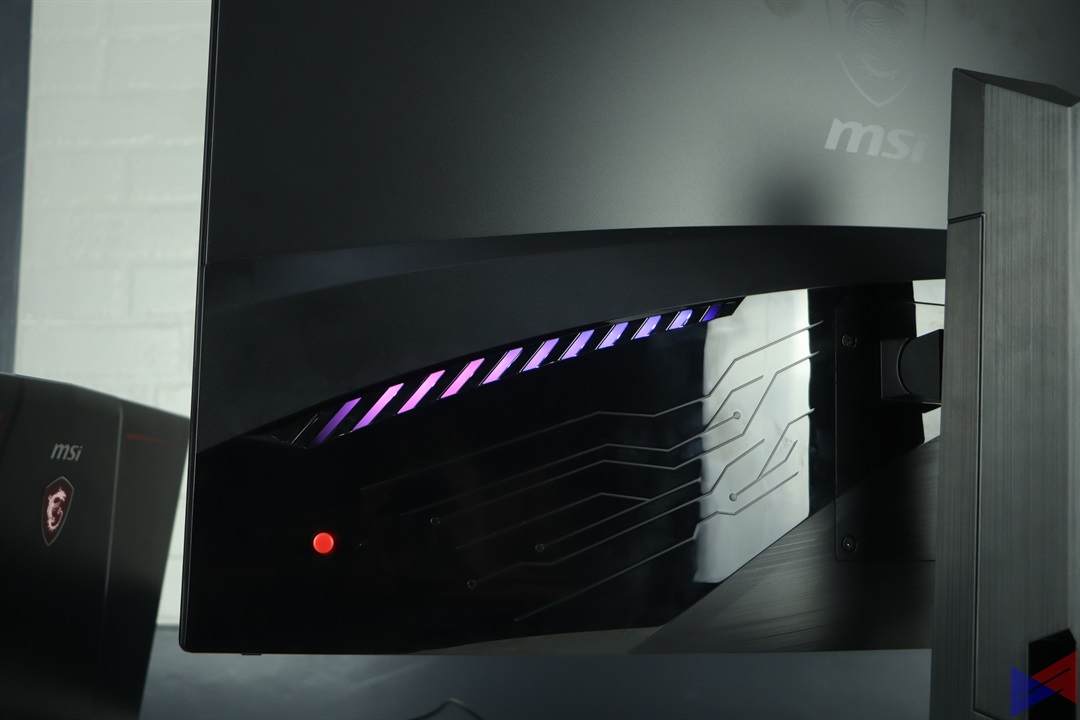 The MAG321CQR is also equipped with RGB lighting, which can be adjusted by accessing Mystic Light app on the Gaming OSD application. It’s a good to have, but i personally think it’s pointless as well, since the light isn’t even strong enough to emit a glow, and it’s not like you’re going to use this backwards.
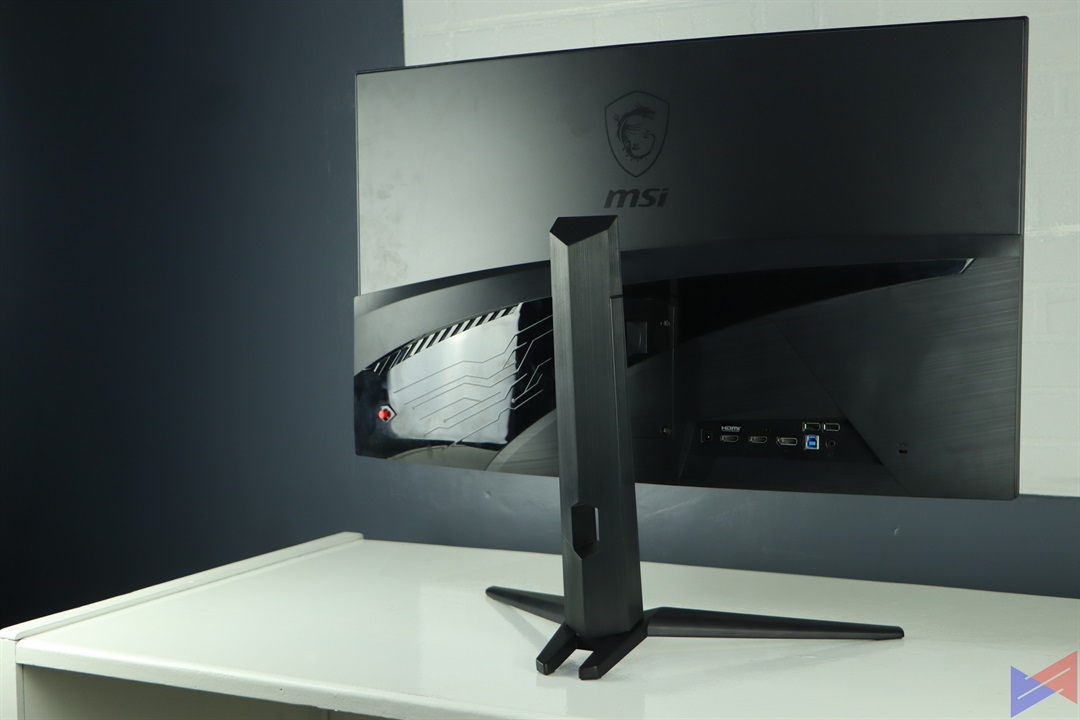 The stand that it comes with only allows you to set the height and tilt. No swivel. We also wished that there was something for cable management at the back of the stand. Well, at least it’s VESA-compatible, so you can mount it on that wall of yours.
Performance
From a productivity standpoint, the huge real estate allows you to see thing in a more “detailed” view. Since it also lets in more in the frame, you can check documents or websites side by side without having to scroll down too much. You’ll know what’s in your Google Chrome tabs without hovering your mouse on each one, even when there are more than 10 of them running. That and a lot more.
The curved design makes watching movies more immersive. Add that to the sheer size of the screen, and it’s as if you have your own mini movie room. That’s of course provided that you’re watching in High Quality to get that lovely amount of detail.
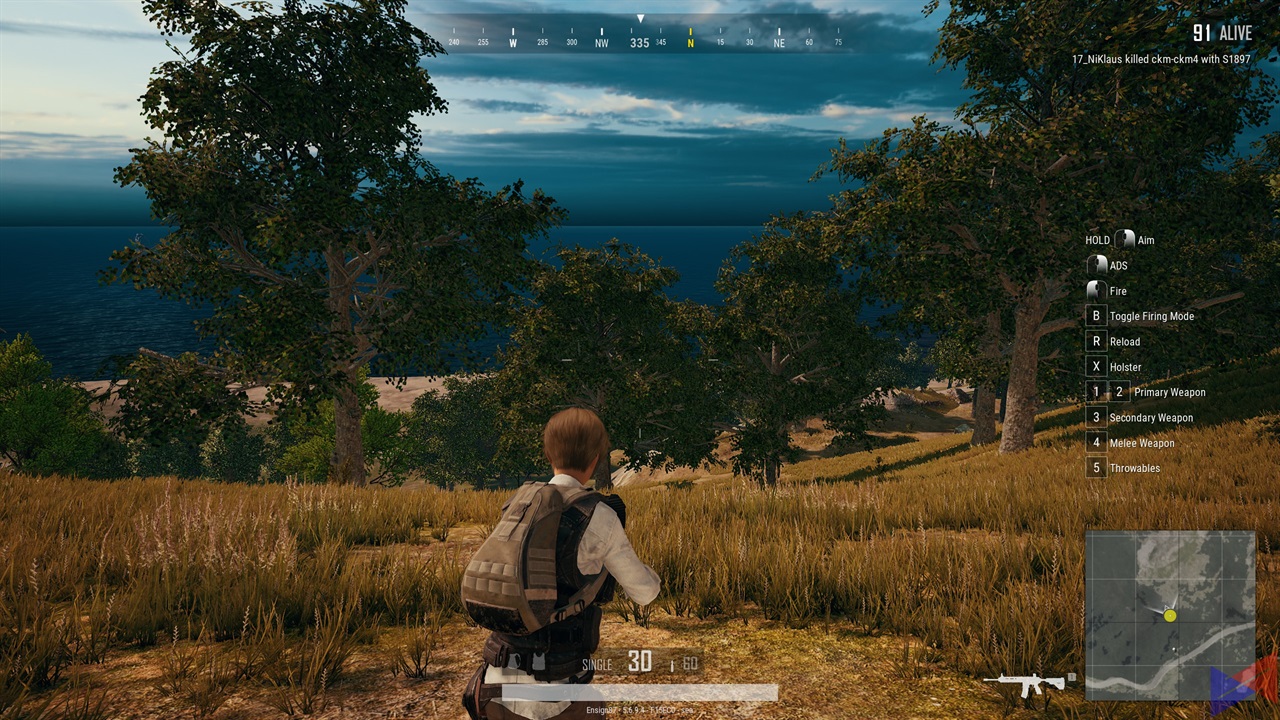 Form a gaming perspective, the monitor does a fine job of eliminating screen tearing. Thanks to 144Hz refresh rate, movements are smooth and extremely fluid in just about any title. Whether that’s a fast-paced shooter like PUBG, or heart-stopping racing action on Project Cars, or when exploring the world and defeating enemies in Tales of Berseria. Oh, and also when you’re on a Zombie-Killing rage in RE2 Remake.
At WQHD resolution, every game we played on it looked so much better in terms of detail, color, and sharpness. Choosing the right display profile will certainly help though. I do like to tweak the settings to my own, but the Racing preset is the one I fancy the most, thanks to its punchy colors.
Software
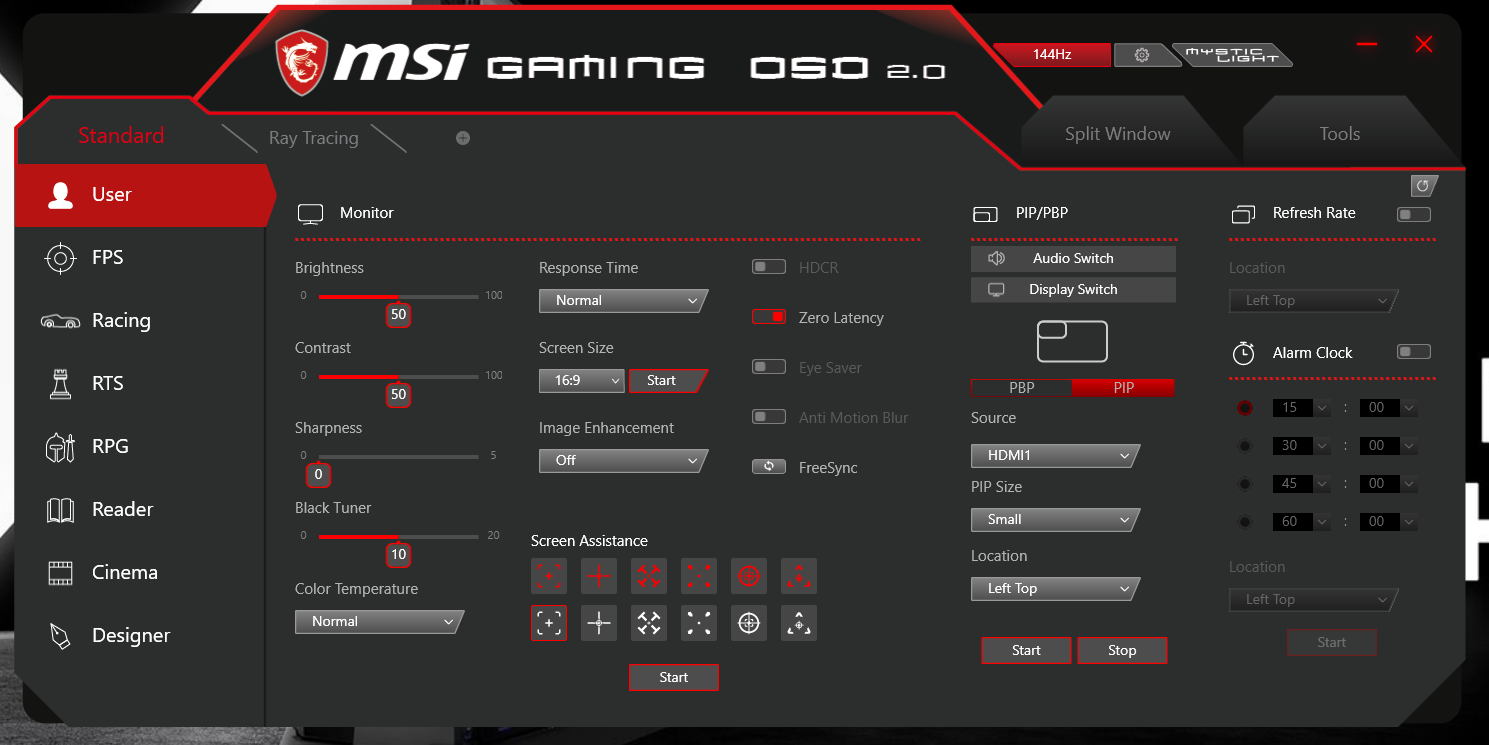 Connecting the monitor to a PC via the Type-B port allows you to access MSI’s Gaming OSD application, which then lets you choose from a variety of presets for the display, depending on what you’re doing. You can also adjust individually adjust the settings for each profile, and create your own.
You can adjust brightness, contrast, sharpness, color temperature, the response time, and enable options like Zero Latency, which minimizes input lag, allowing you to react in time to that enemy who is about to shoot you in a fast-paced FPS game.
Selecting “Fastest” as your response time automatically enabled anti-motion blur. You can also enable or disable Freesync, show the current refresh rate in designated areas of the screen, and even set an alarm.
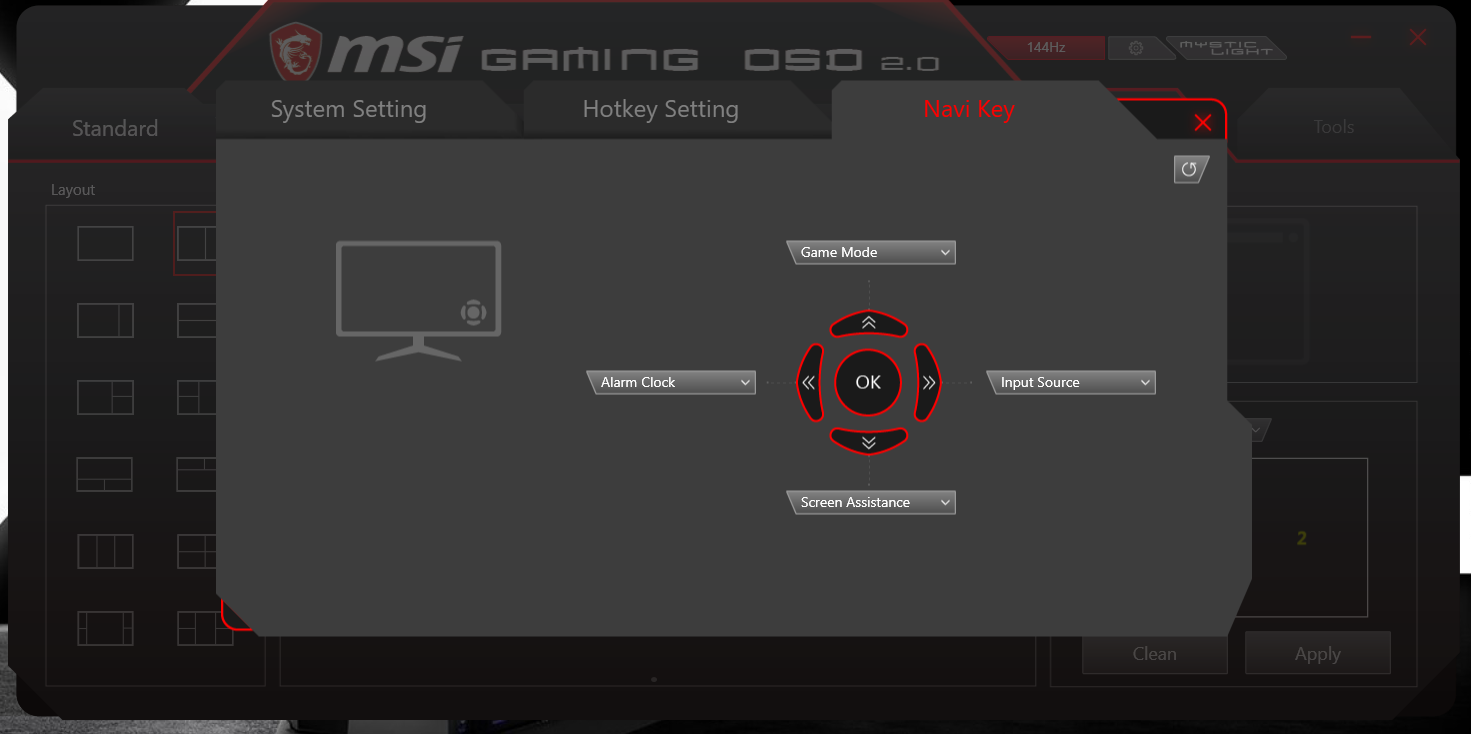 Up top, the gear icon lets you access additional settings such as assigning functions to the Navi key.
 Just Click on Mystic Light to adjust the monitor’s RGB lighting effects. You can also set the monitor to shut down automatically after a period of time, enable and adjust settings for PIP or PBP, and even add crosshairs to your screen.
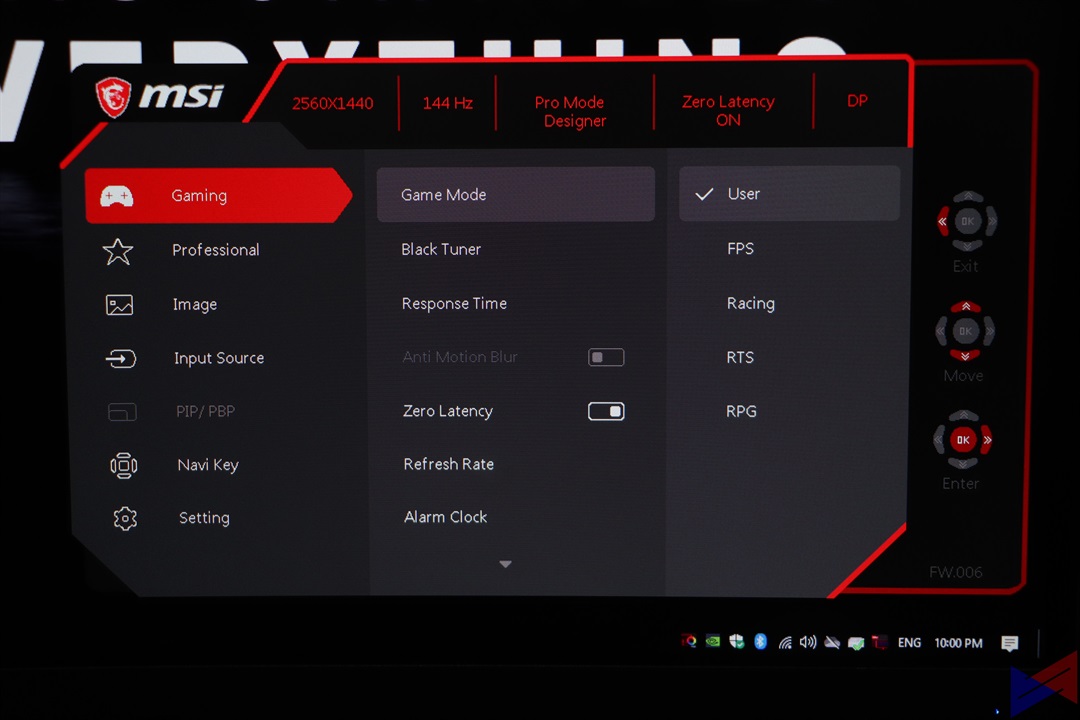 You can also access most of these settings using by pressing the Navi key once. Once in the OSD, you can easily navigate the options by using it as a joystick.
Emman has been writing technical and feature articles since 2010. Prior to this, he became one of the instructors at Asia Pacific College in 2008, and eventually landed a job as Business Analyst and Technical Writer at Integrated Open Source Solutions for almost 3 years.

