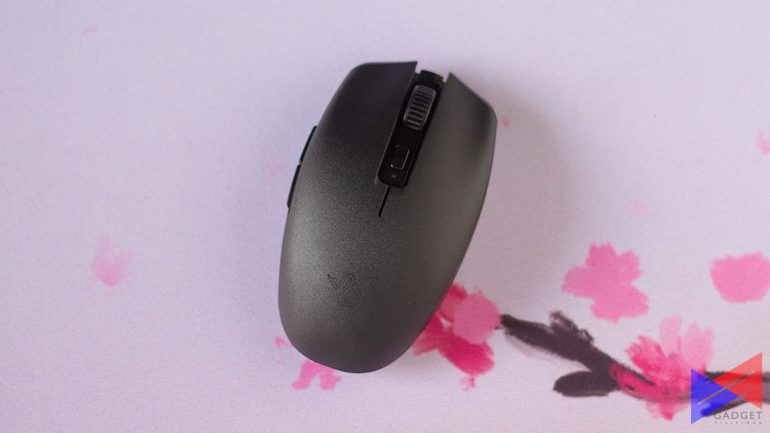
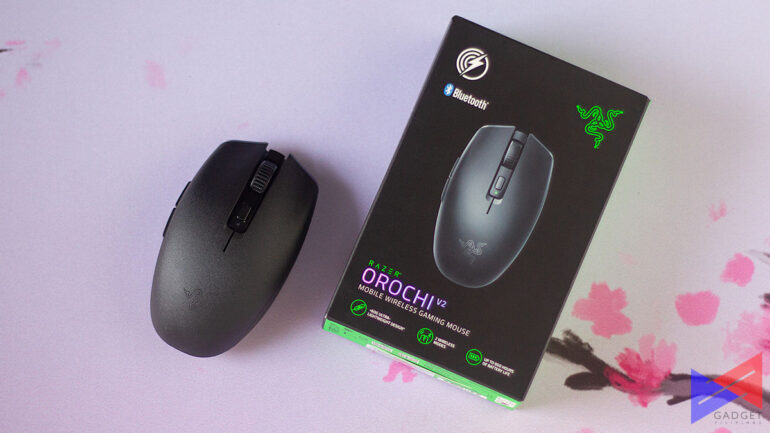
Razer recently launched the Razer Orochi V2 wireless, the company’s latest ultra-lightweight wireless mouse. Despite carrying the Orochi name, the Orochi V2 is a far cry from its predecessor just based on looks alone. That’s a good thing.
Razer Orochi V2 Specs
| Razer Orochi V2 | |
| Sensor | Razer 5G |
| DPI | 400-18,000 DPI Levels |
| Connection | HyperSpeed (2.4Ghz RF Wireless) / Bluetooth |
| Weight | < 60g |
| Programmable buttons | 6 |
| Skates | PTFE |
| Switch | 2nd-Gen Razer Mechanical |
| Polling Rate | 125Hz – 1000Hz |
| Acceleration | 40g |
| Battery | 1 x AA or 1 x AAA Batteries |
| Battery Life | Up to 425 hrs (2.4GHz) or 950 hours (Bluetooth) with included Lithium AA battery |
| Size | 108mm x 60mm x 38mm |
| Warranty | 2 Years |
Razer Orochi V2 Unboxing and Hands-on
Unboxing the mouse is a pretty straightforward experience. The mouse itself was secured in packaging, above it is a Lithium AA battery secured in a cutout and your more typical documentation was also in the box.
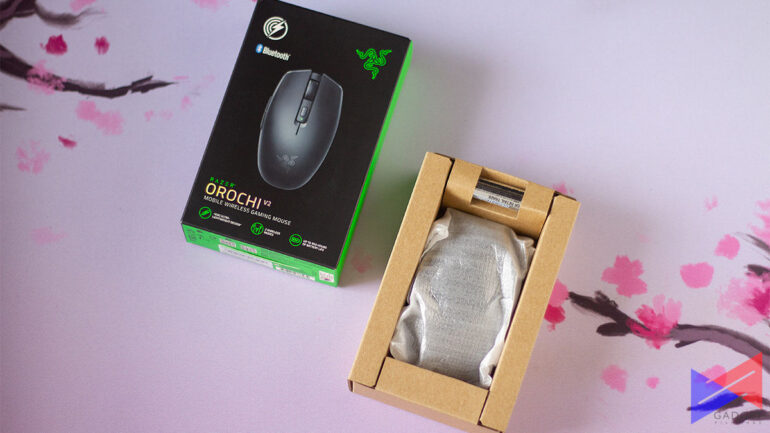
Despite the no-frills unboxing experience, I can say I enjoyed it. It’s pretty much as simple as the design of the mouse itself.
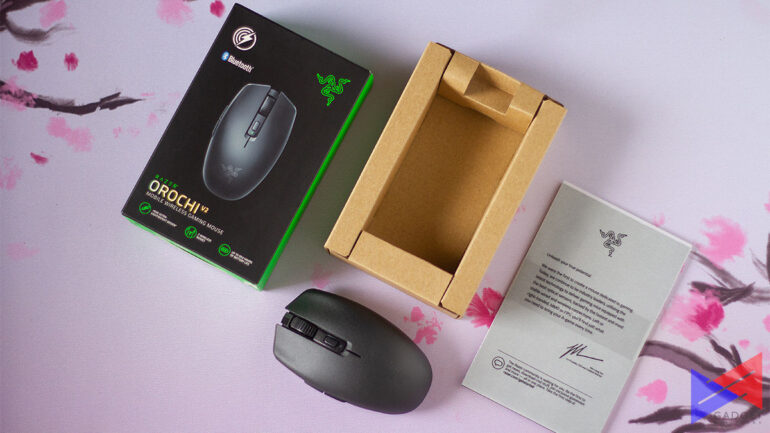
Speaking of the mouse itself, the Orochi V2 has a very simple and sleek design. The design is pretty simple that even the usually more prominent Razer logo isn’t as prominent. It has a textured matte plastic on the top and sides that feels pretty good in the hands. Even when my hands got pretty sweaty from nerves in Valorant or Dota, it was still very easy to grip the mouse thanks to the textured matte finish.
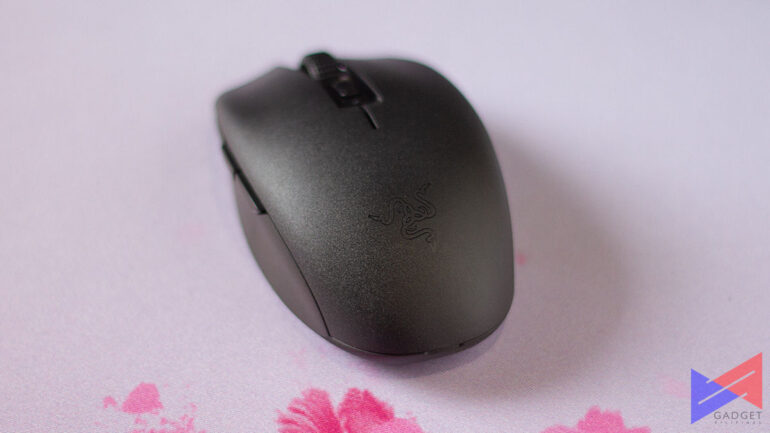
We received the black color, which I’m quite thankful for because, after a while, I could see the dirt gather from where my sweaty hands were. I could imagine it looking even worse on the white color.
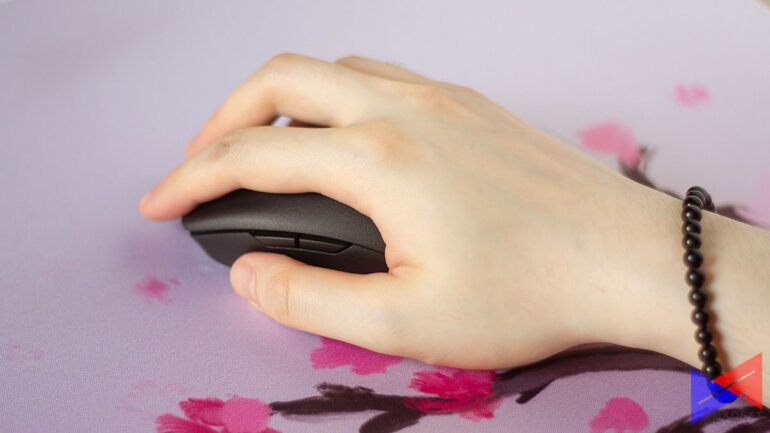
Because it is a portable mouse, it is pretty small with 108mm x 60mm x 38mm dimensions. Coming from a wired ASUS ROG Gladius II, the change in size was pretty drastic especially since I use a palm grip. My hand isn’t the largest but even the size of the Orochi V2 forced me to adopt a claw grip. It isn’t the largest issue but it will definitely take getting used to.
Another plus for me is the lack of RGB, which I imagine would be a good thing if I’m on the go and I just want to play lowkey in a cafe or something.
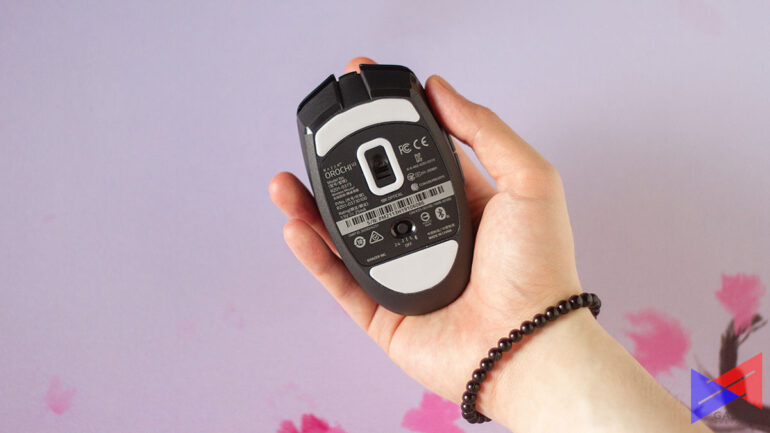
Underneath, the Orochi V2 has its PTFE feet, the Razer 5G sensor, and the switch to choose whether to turn off, connect via Bluetooth, or 2.4GHz below the sensor.
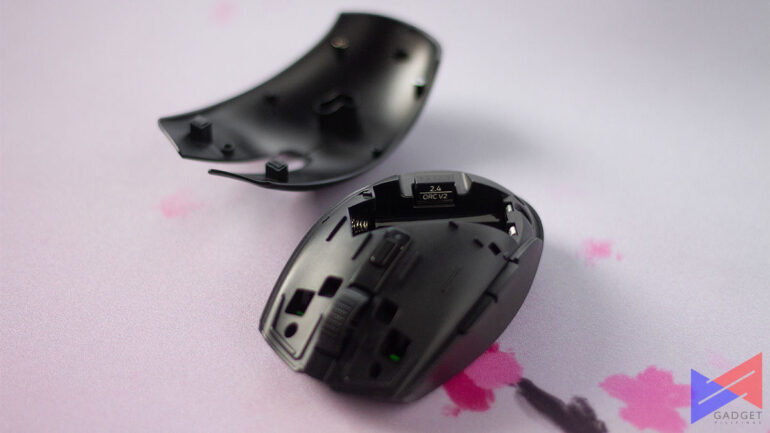
The option to connect via 2.4GHz via the USB dongle and Bluetooth is actually pretty cool. This allows you to bring the mouse along when you have to work outside and just connect to your laptop via Bluetooth while you leave the dongle connected to your PC.
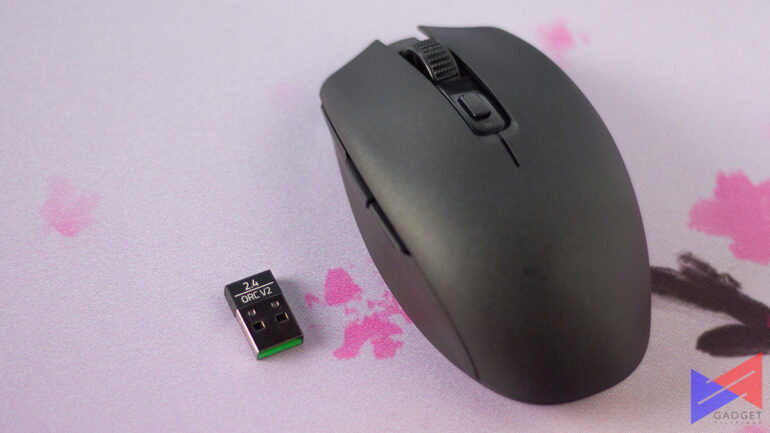
Speaking of the USB dongle, it is found housed in its own compartment inside the mouse. It can be accessed by lifting up the top of the mouse. This is pretty easy to remove but also feels secure once it snaps in.
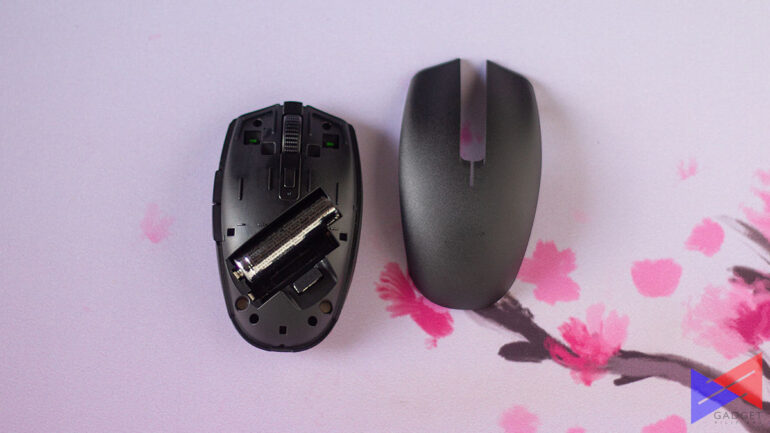
The USB dongle slot is joined by the slots for either 1 AA battery or 1 AAA battery which has been designed to have the mass of the mouse at the center of the mouse. This design felt pretty good even while using heavier Alkaline batteries.
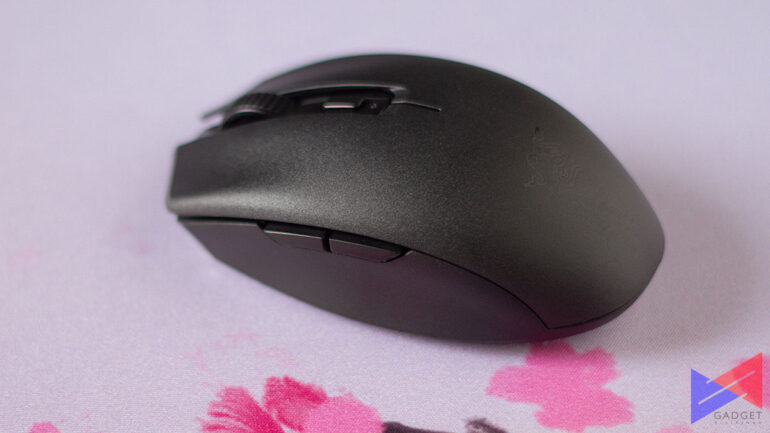
The mouse has six programmable buttons with two buttons on the left of the mouse and a DPI changer behind the mouse wheel.
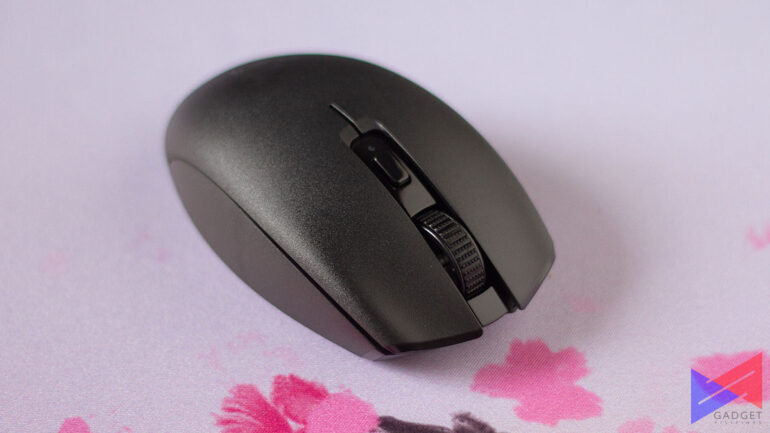
The mouse uses 2nd generation Razer mechanical switches which is actually a bit clickier than I’m used to but has since actually grown to enjoy. The scroll wheel also feels nice with what feels like tactile bumps for a more controlled scrolling experience.
Mouse Testing
[For this part of the test, I used the MouseTest v1.5.3 software and I used a Patag Manlalaro mouse pad]
CPI Divergence
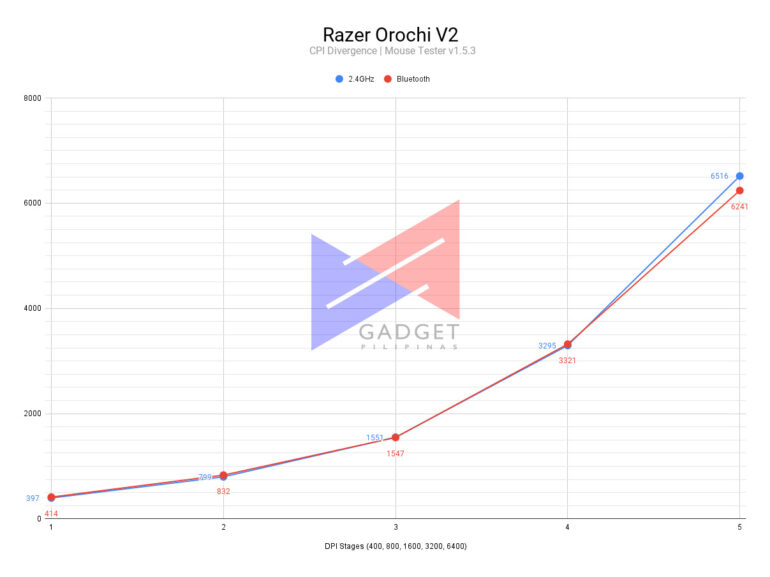
To test CPI Divergence, I set the software to the different DPI settings on the mouse. By default, the Razer Orochi V2 has five stages – 400, 800, 1600, 3200, and 6400.
I then dragged the mouse along a straight 10cm line while the software gathered data. The goal of the test is to be as close to the said DPI stage as it can. I did this in both 2.4Ghz and Bluetooth connection and it was pretty much identical across the five stages staying pretty close to the DPI setting.
Polling Rate and Stability
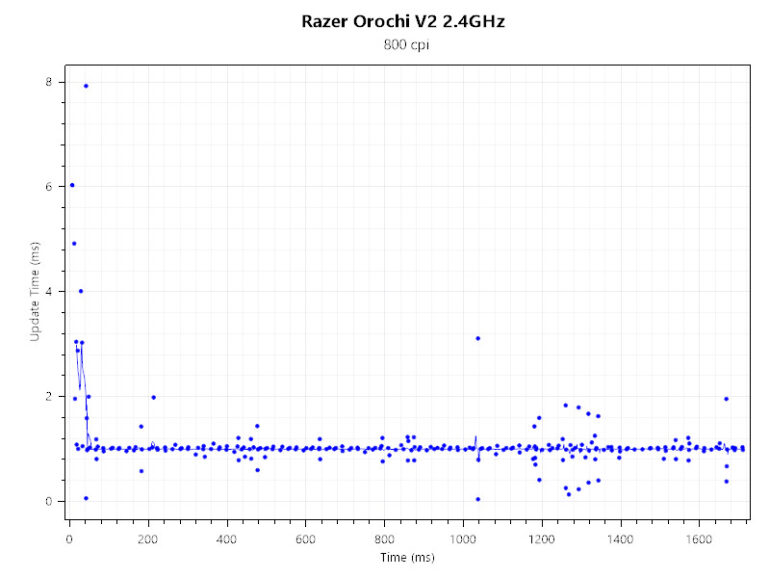
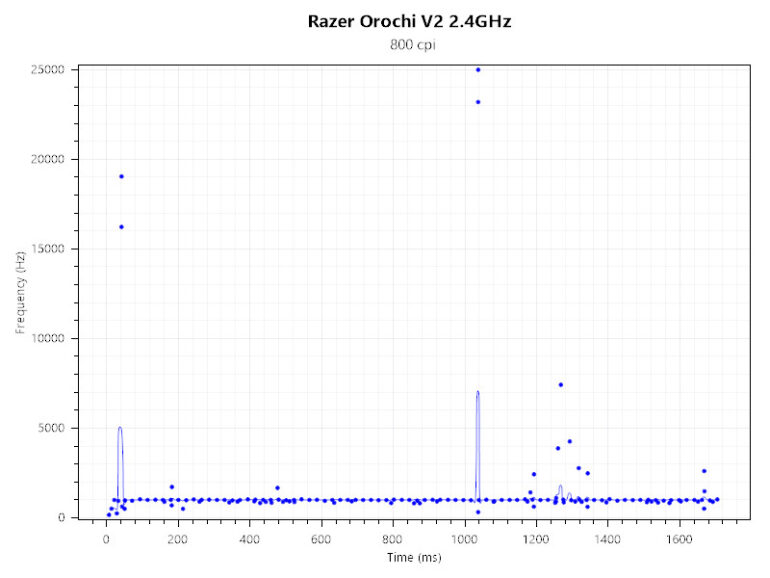
It was in the polling rate and stability test that it got pretty interesting for the Razer Orochi V2. By interesting, I mean, unexpected results.
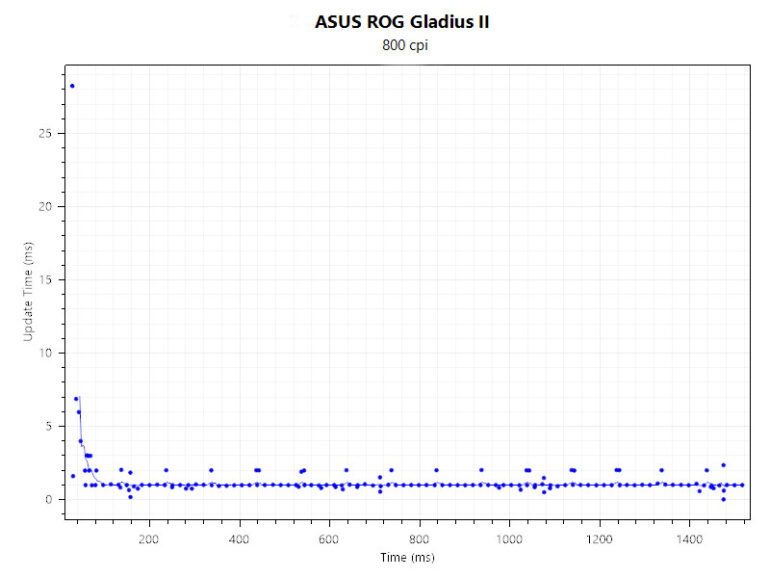
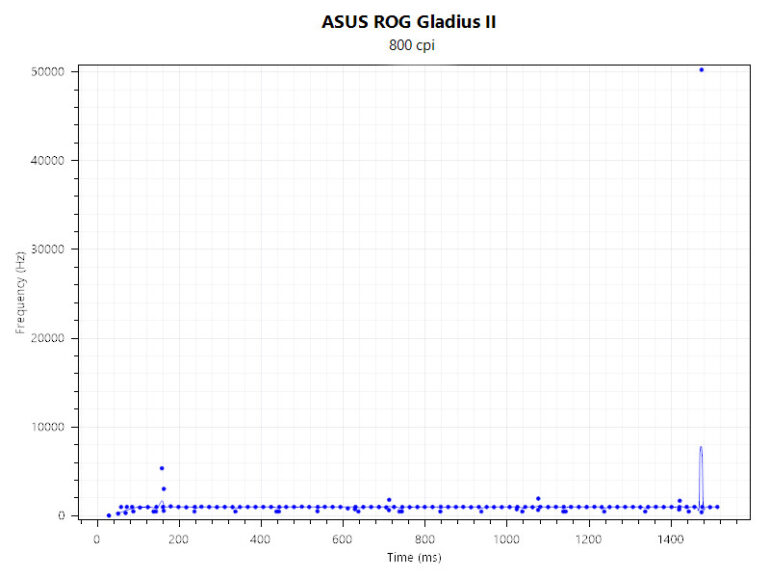
To test for this, I set it at 1000Hz polling and 800 dpi. I then dragged the mouse in a straight line for 3 seconds. We’re looking for a line with dots clinging close to the line.
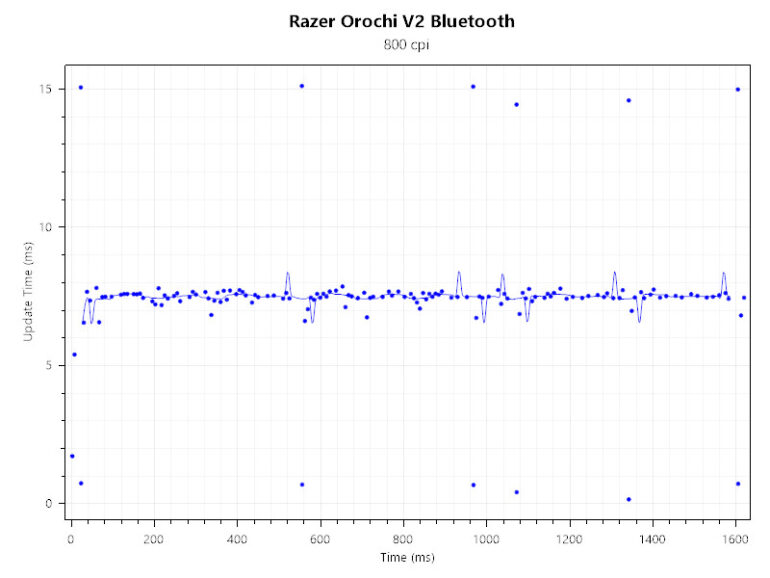
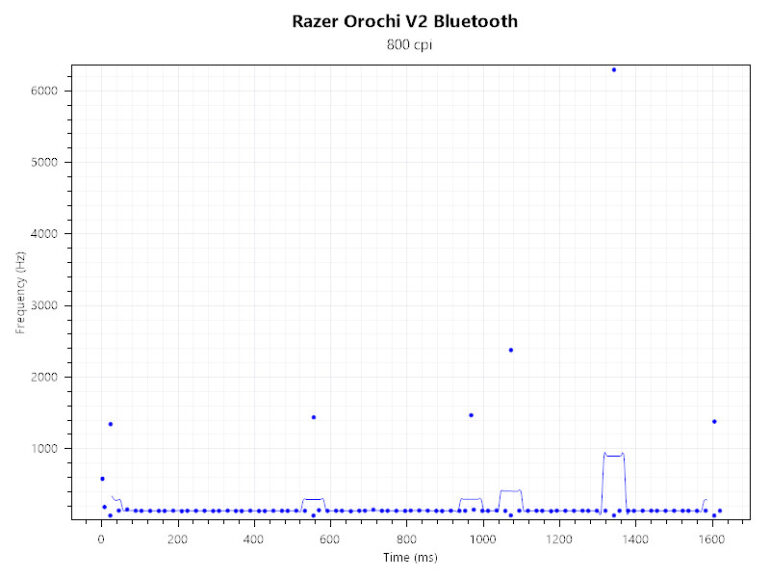
Where I was surprised was that the Bluetooth outperformed the 2.4GHz albeit with some outliers still. We did this test multiple times and came to a somewhat similar result.
Input Lag and Smoothing
Last was the Input lag and smoothing test. Like the previous test, I set the dpi to 800 but this time I dragged the mouse in a zig-zag motion from top to bottom.
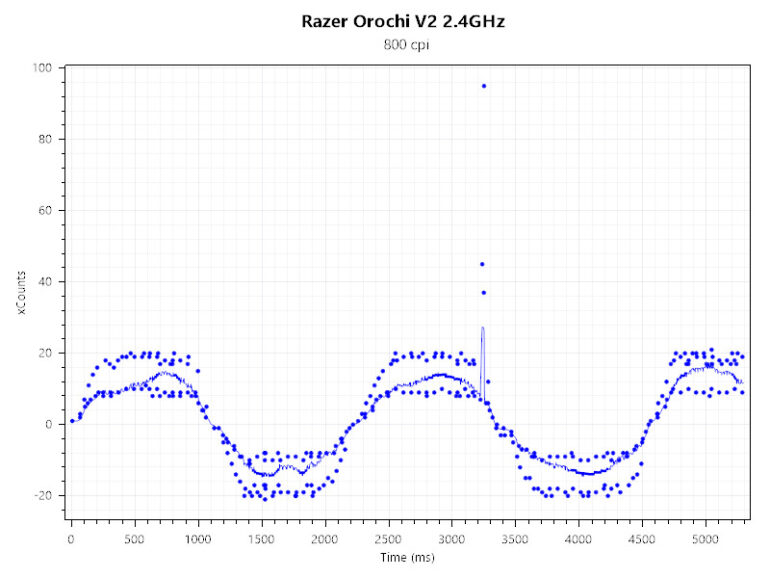
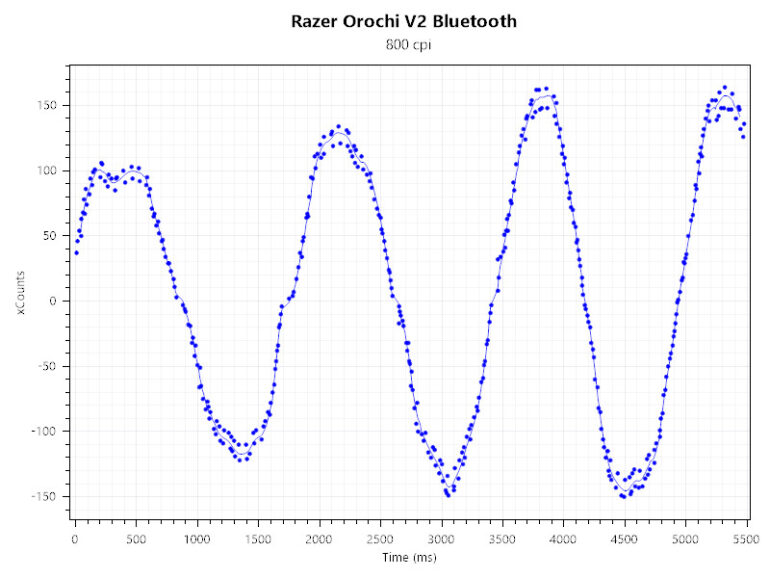
Similar to polling rate and stability, we’re looking for a tight dot placement along the line. And again, similar to the previous test, Bluetooth mode had a smoother line than 2.4Ghz mode.
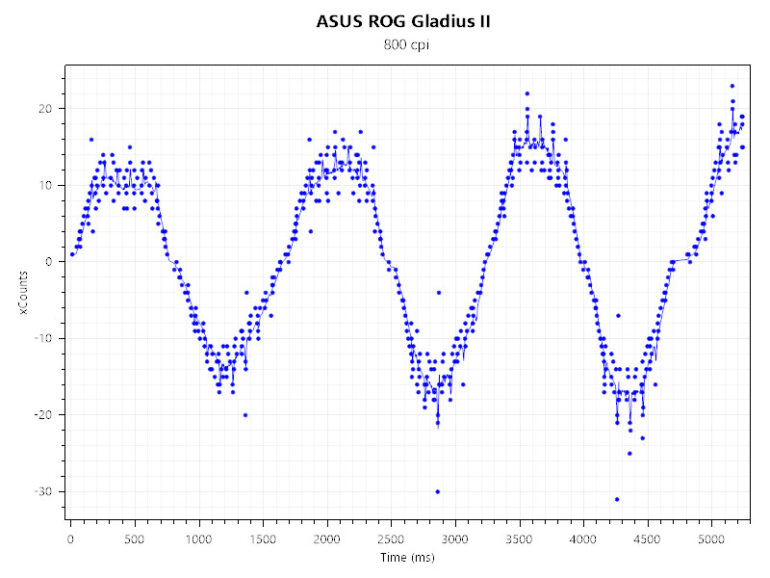
The results could mean that the 2.4GHz receiver isn’t the best. I must mention as well that I did come across issues with my cursor zipping around the screen or lagging along even with a new battery on 2.4Ghz. Thankfully though, it happened only on desktop and never happened while I was playing Dota 2 or Valorant.
I decided to transfer the USB dongle from the back USB to the front of my case to see if it changes anything and it seemed like it did. However, it shows that the dongle can’t be too far from the mouse. My case isn’t the biggest nor is it the furthest from the mouse itself, mind you.
Razer Synapse Software
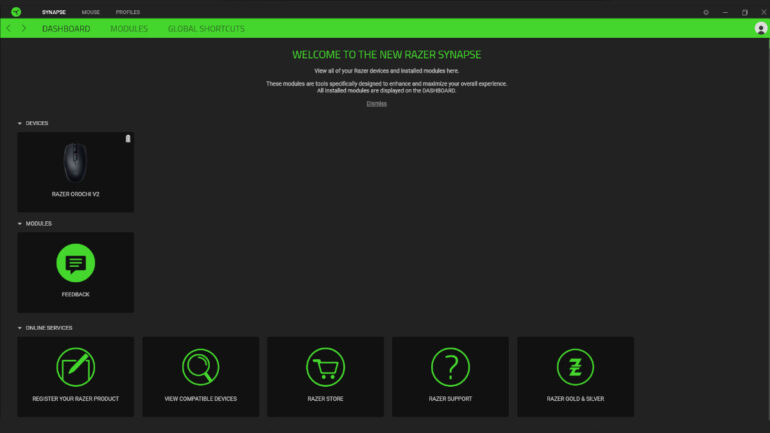
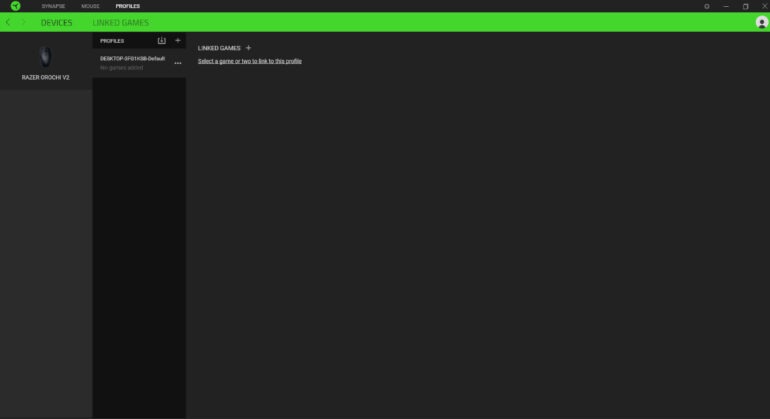
The Razer Synapse software is pretty straightforward and actually pretty organized. My Synapse is on Version 3.6.920.91710. As much as I’d love to share the firmware version of the mouse, I couldn’t seem to find it in the software.
The main customization options for the Orochi V2 are under the Mouse tab. There you can remap your buttons, set your DPI stages and polling rate, set surface calibration, and set how sleep mode and low power mode.
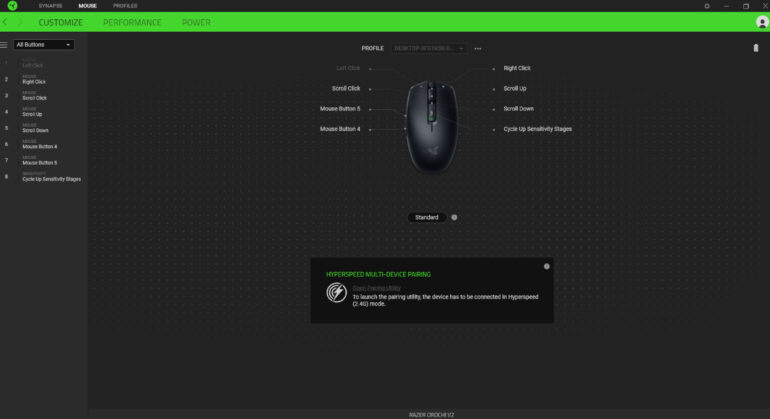
I appreciated how you are given the liberty to set how many DPI stages you have from two to five and set the sensitivity per stage. By default, it has five DPI stages but I decided to lessen it to three in my day-to-day use just so I don’t have to cycle through so many DPI stages.
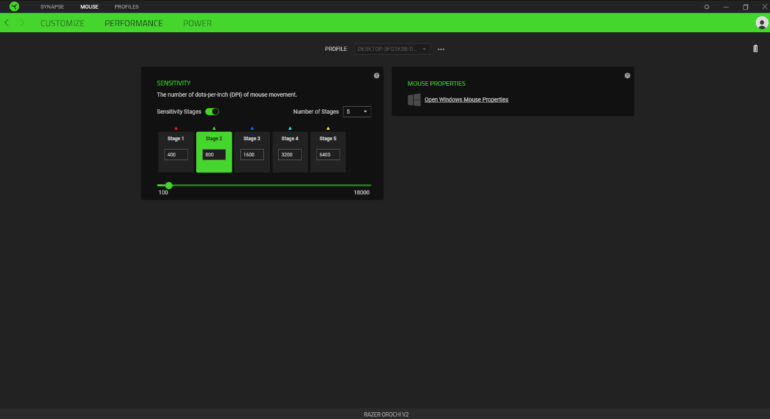
Each stage is assigned a color that shows up in the little LED right below the DPI button. Additionally, a little window shows up on Windows that shows which DPI you have. The combination of both makes it pretty convenient to tell which setting you’re at, which for me comes in handy as I switch from regular browsing to playing FPS games.

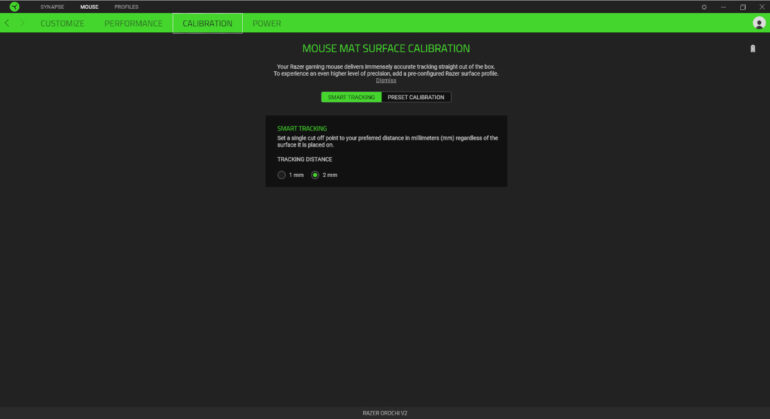
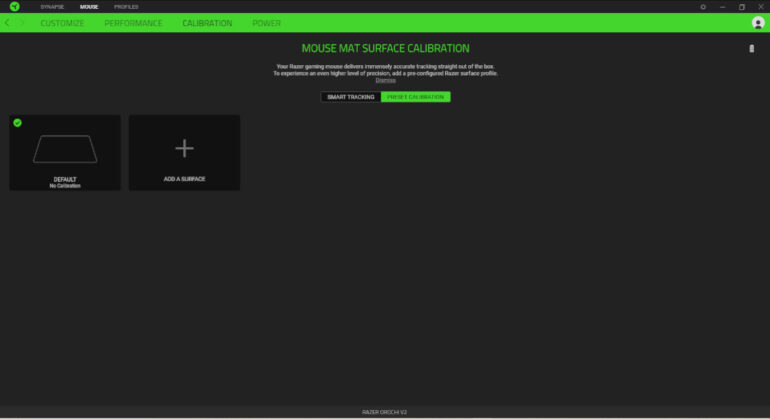
The software also has a calibration tab that allows you to set smart tracking between 1mm and 2mm and choose a preset calibration. The latter comes in handy if you have plans of getting a Razer mousepad or already have one.
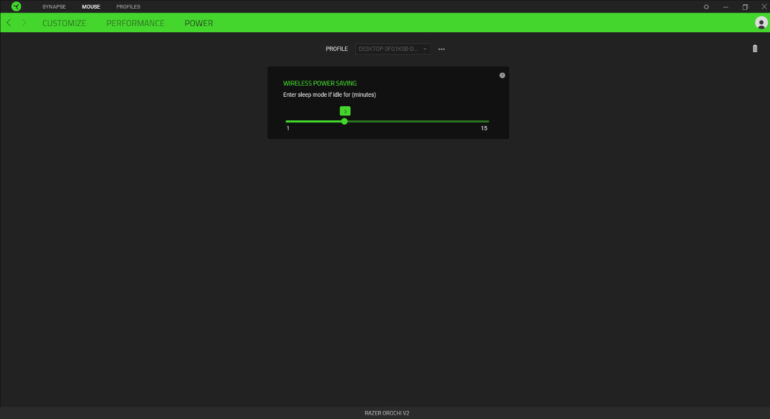
You’re also able to set how many minutes while being idle before the mouse goes to sleep mode is pretty nifty as well. You can set this from a minimum of 1 minute to a maximum of 15 minutes.
There’s also the low power mode which it switches to if on wireless mode and below the amount you set. This goes from 0% to 100%. While I think this can come in handy, what the Orochi V2 and Synapse software doesn’t offer is battery level. There’s no way to tell what percentage your battery is at even on the software level. You’re either using fresh batteries or almost running out.
Product shots courtesy of Rianne Ronquillo
Ram found his love and appreciation for writing in 2015 having started in the gaming and esports sphere for GG Network. He would then transition to focus more on the world of tech which has also began his journey into learning more about this world. That said though, he still has the mentality of "as long as it works" for his personal gadgets.

