Nail that Perfect Shot Using the OPPO Reno10 Pro+ 5G
So, you just got your new OPPO Reno10 Pro+ 5G, and you wanted to maximize its amazing photography features. We know that this is a powerful smartphone with a camera system that can rival dedicated cameras. With its triple-lens rear camera setup and 32MP front-facing camera, the Reno10 Pro+ 5G can capture stunning images in any lighting condition.
Choose the right lens for the job
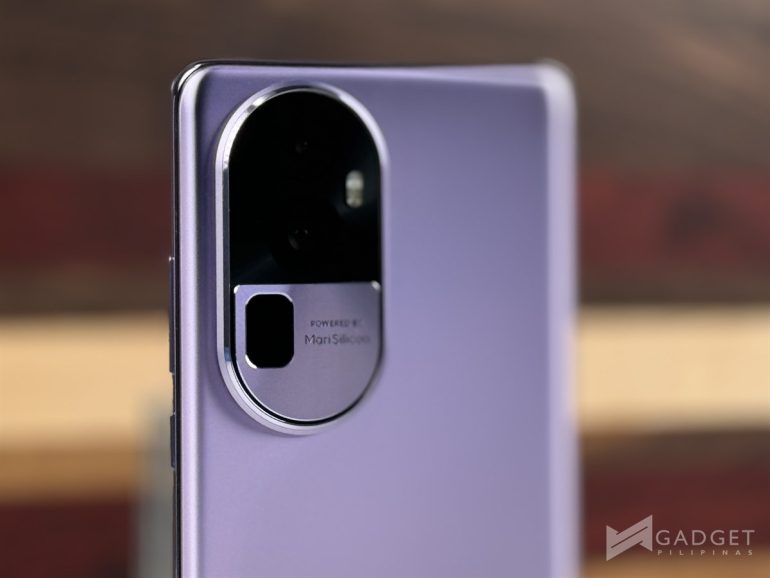
The Reno10 Pro+ 5G has three rear lenses, each with its own strengths and weaknesses. The 50MP main camera is great for all-around photography, while the 64MP telephoto lens is ideal for portraits and zooming in on distant subjects. The 8MP ultrawide lens is perfect for capturing landscapes and group photos.
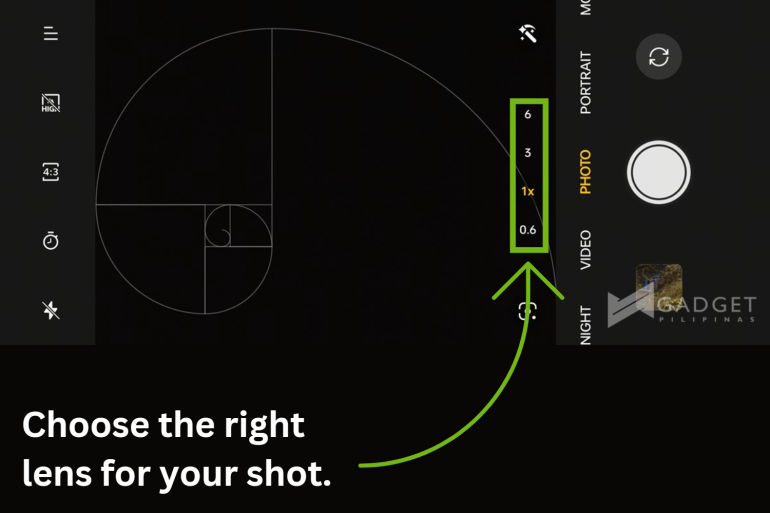
For instance, if you’re taking a photo of a group of friends, you’ll want to use the ultrawide lens so that everyone can fit in the frame. If you’re taking a photo of a bird from a distance, you’ll want to use the telephoto lens so that you can zoom in and get a close-up shot.
Use the Portrait Mode when possible
The Reno10 Pro+ 5G’s Portrait Mode is one of the best in the business. It can create beautiful portraits with a natural-looking bokeh effect. To use Portrait Mode, simply open the camera app and select the “Portrait” mode. Then, tap on the subject of your photo to focus on them. The camera will automatically blur the background, creating a stunning portrait effect.

When using Portrait Mode, it’s important to make sure that the subject of your photo is well-lit and that there is enough contrast between the subject and the background. You should also avoid using Portrait Mode if the subject of your photo is very close to you, as this can cause the bokeh effect to look unnatural.
You may also want to check the exposure value (EV) of your viewfinder when shooting portrait mode, especially when shooting a well-lit subject. Be sure to adjust it to your liking to have a good balance of both exposure and contrast level.
Related: OPPO Reno10 Pro+ 5G Review
Use Night Mode
The Reno10 Pro+ 5G’s Night Mode is also excellent. It can capture clear and bright photos in even the darkest conditions. To use Night Mode, open the camera app and select the “Night” mode. Then, hold the phone steady while it takes a photo.

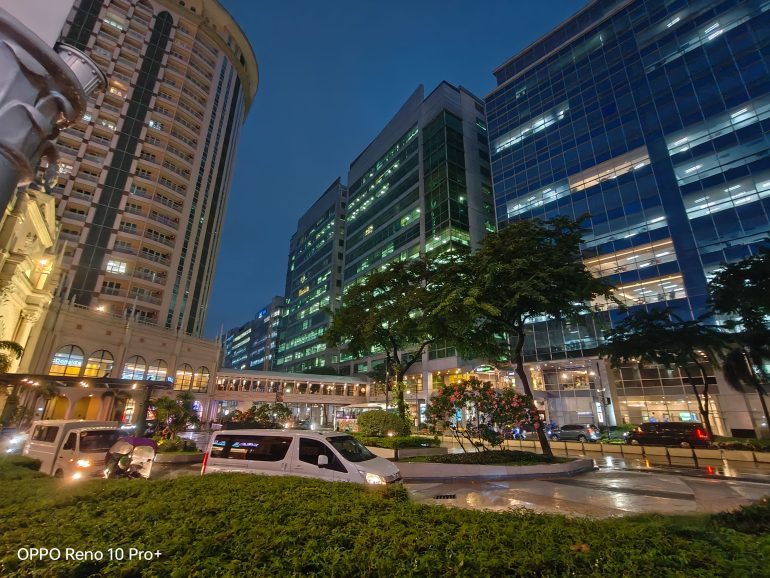

When using Night Mode, it’s important to keep the phone steady as much as possible. You may also want to use a tripod to prevent the phone from shaking. It’s also a good idea to avoid using Night Mode if the subject of your photo is moving, as this can cause the photo to be blurry.
If you happen to see a puddle of water that gives a good reflection of buildings or pedestrians, rotate your Reno10 Pro+ 5G vertically, bring it closer to the puddle, and take a shot. Just be sure to show the reflection of your chosen subject. This looks perfect when shooting in night mode.
Compose your shots carefully
Before you press the shutter button, take a moment to compose your shot. Consider the elements in the scene and how you want to arrange them.
For example, if you’re taking a photo of a landscape, you may want to use the rule of thirds to compose your shot. This means dividing the frame into thirds, both horizontally and vertically, and then placing the subject of your photo at one of the intersections.

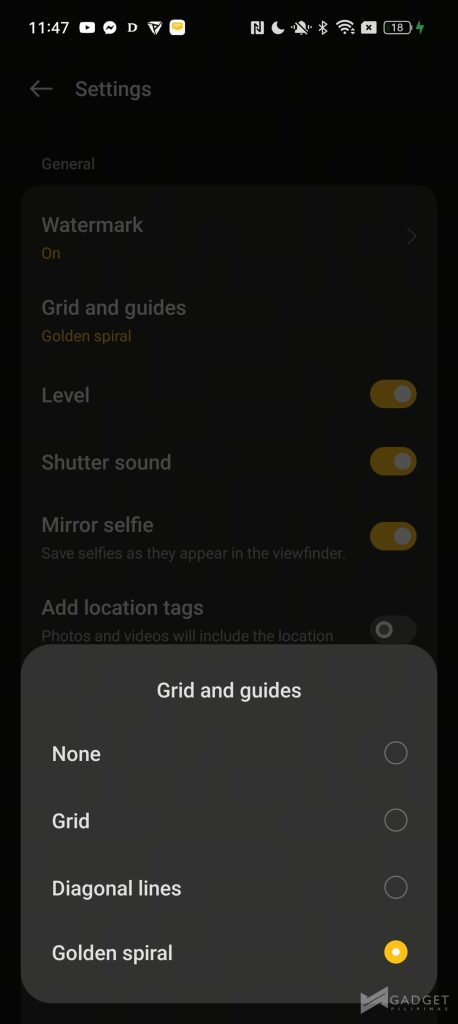
It is also easy to frame your shots, which brings me to another sub-trip: use the gridlines.
The Reno10 Pro+ 5G has a gridlines feature that can help you compose your shots more easily. To turn on the gridlines, open the camera app and tap on the settings icon. Then, scroll down and tap on “Gridlines and guides”. You have the option among grid, diagonal lines, and golden spiral, which is my personal favorite.
The gridlines can help you to align the elements in your photo and to create a more balanced composition.
Adjust the exposure
The Reno10 Pro+ 5G allows you to manually adjust the exposure of your photos. This can be useful in situations where the camera’s automatic exposure settings are not producing the desired results. To adjust the exposure, tap on the screen and hold your finger there. A slider will appear. Drag the slider up or down to adjust the exposure.
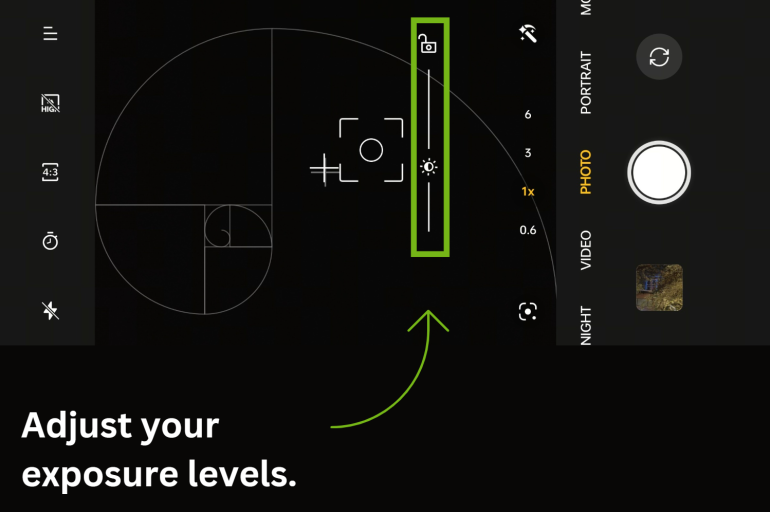
If you’re taking a photo in a high-contrast situation, such as a scene with bright highlights and dark shadows, you may need to adjust the exposure manually to get a properly exposed photo.

Use the HDR mode
The Reno10 Pro+ 5G’s HDR mode can help you capture photos with greater detail in both the highlights and shadows. To use HDR mode, open the camera app and tap on the “HDR” icon.
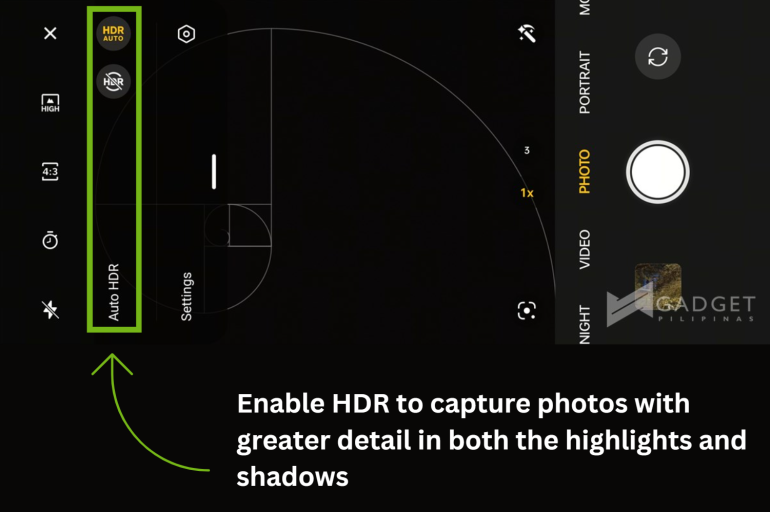
HDR mode is especially useful when taking photos of landscapes or other scenes with a high contrast range.
Occasionally wipe the lens
Last but not the least, be sure to wipe off the lens of the OPPO Reno10 Pro+ 5G. Dirt, fingerprint, or any form of smudges on the display can drastically affect the overall quality of your photo.

With these tips in mind, you’ll be well on your way to taking amazing photos with the OPPO Reno10 Pro+ 5G.
Enjoy the Present with OPPO Philippines
Spread holiday cheer and enjoy exclusive promos when you purchase OPPO smartphones this Christmas. Make the most out of special discounts and freebies, exclusive benefits and gifts, and exciting festivities until January 7, 2024 for a merrier, more meaningful celebration.

Learn more about the OPPO Reno10 Series 5G on the official website or check out OPPO Philippines’ official social media pages on Facebook, YouTube, and TikTok.

Giancarlo Viterbo is a Filipino Technology Journalist, blogger and Editor of gadgetpilipinas.net, He is also a Geek, Dad and a Husband. He knows a lot about washing the dishes, doing some errands and following instructions from his boss on his day job. Follow him on twitter: @gianviterbo and @gadgetpilipinas.


